
Infrared Photography is the ability of your camera sensor (or film) to see light in a much wider range than our eyes can see. This can be obtained by using infrared film, infrared filters (attached to digital cameras), or by converting the sensor of a camera to be always seeing light like this. If you have a digital camera and are curious to try this out, I suggest you start by using a lens filter, as opposed to converting your camera sensor forever.
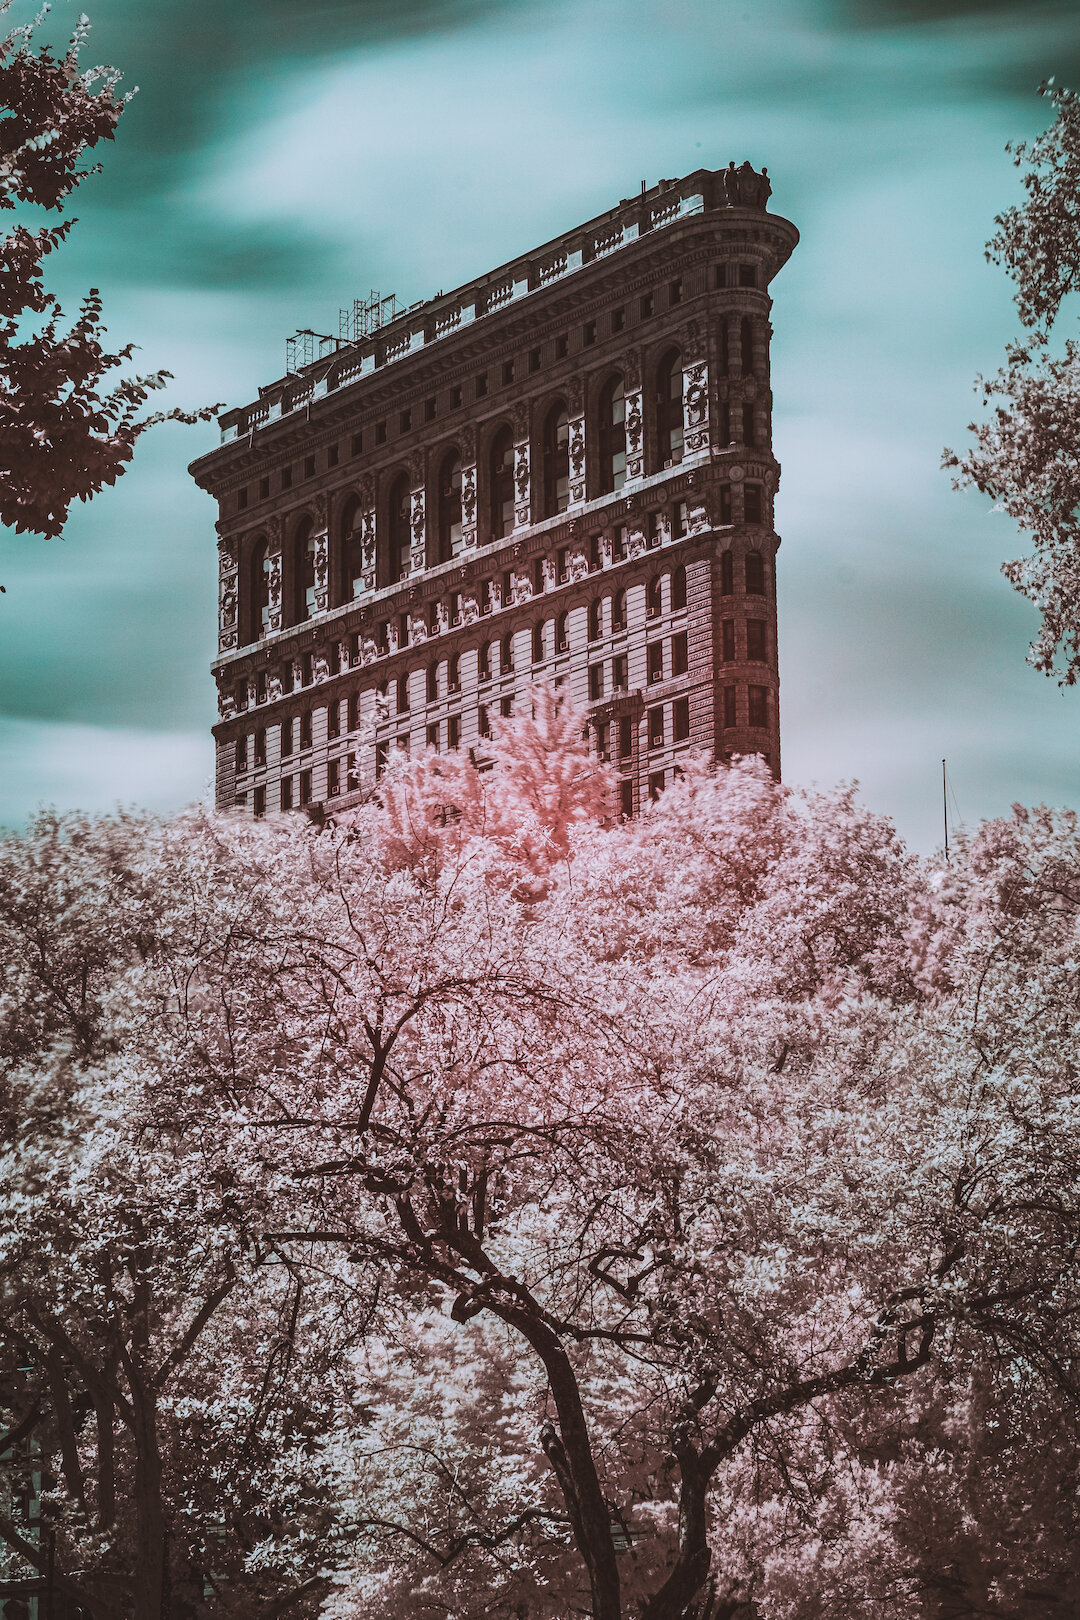
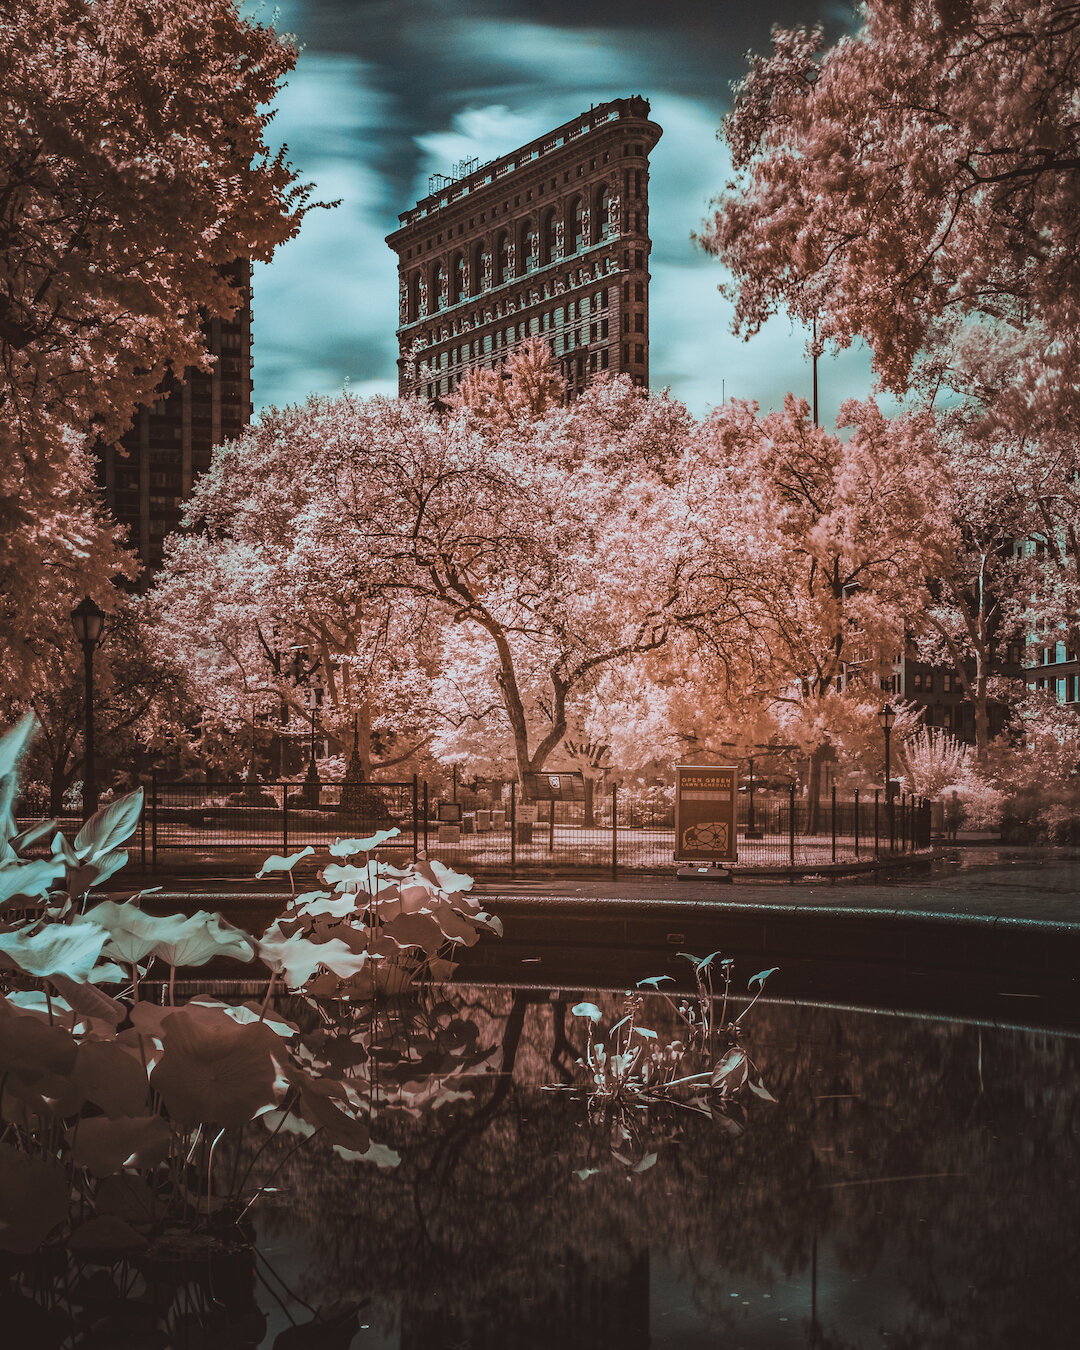
I can’t remember when was the first time I came across this technique, but it wasn’t until a couple of years ago that I learned that I could start out simply by buying a filter instead of having to change my camera internally - thanks to a post a say from Bryan Minear on Twitter. After a lot of research, I decided to buy a filter from Hoya and the results blew my mind right away. For my first experiment, I went down to Madison Square Park (in NYC) with the idea of photographing the iconic Flatiron Building through some nice foliage, which is one of the elements where infrared Photography really shines. This was the first results I got:


When using an infrared filter for the first time, the first thing you’ll notice is that it works very similar to an ND filter, in the sense that it cuts down a lot of stops on your exposure, forcing you to use a tripod and shoot long exposures to get a nice result. Because the image will look extremely dark when you put the filter on, you will also struggle to focus when trying to use autofocus. For that, the best thing to do is to start by figuring out your composition, and once you have the camera fixed on the tripod and ready to start shooting, adjust the focus manually and then you attach the filter and set the proper exposure for the results you are looking for.
The second thing you’ll notice is, when the camera stops shooting, the image you’ll see on the back of the camera will probably be either very dark or in a deep red tone, and that’s because the filter is blocking the “normal” light and colors our eyes as used to see. To get from that to an interesting-looking photograph (either in black and white or in color) you will need to learn a few new tricks on post-processing. I recommend going on YouTube and watching some tutorials on processing infrared photographs on your favorite software. In my case, I used Adobe Lightroom for these.
In terms of camera settings, there’s really not a magical combination that will work for every situation, but you will want to follow the principles of long exposures (more information on this post), meaning low ISO, narrow apertures, and longer shutter speed. Like any other technique, you will make a lot of mistakes until you start learning what works (and not) to your camera/lens/filter.
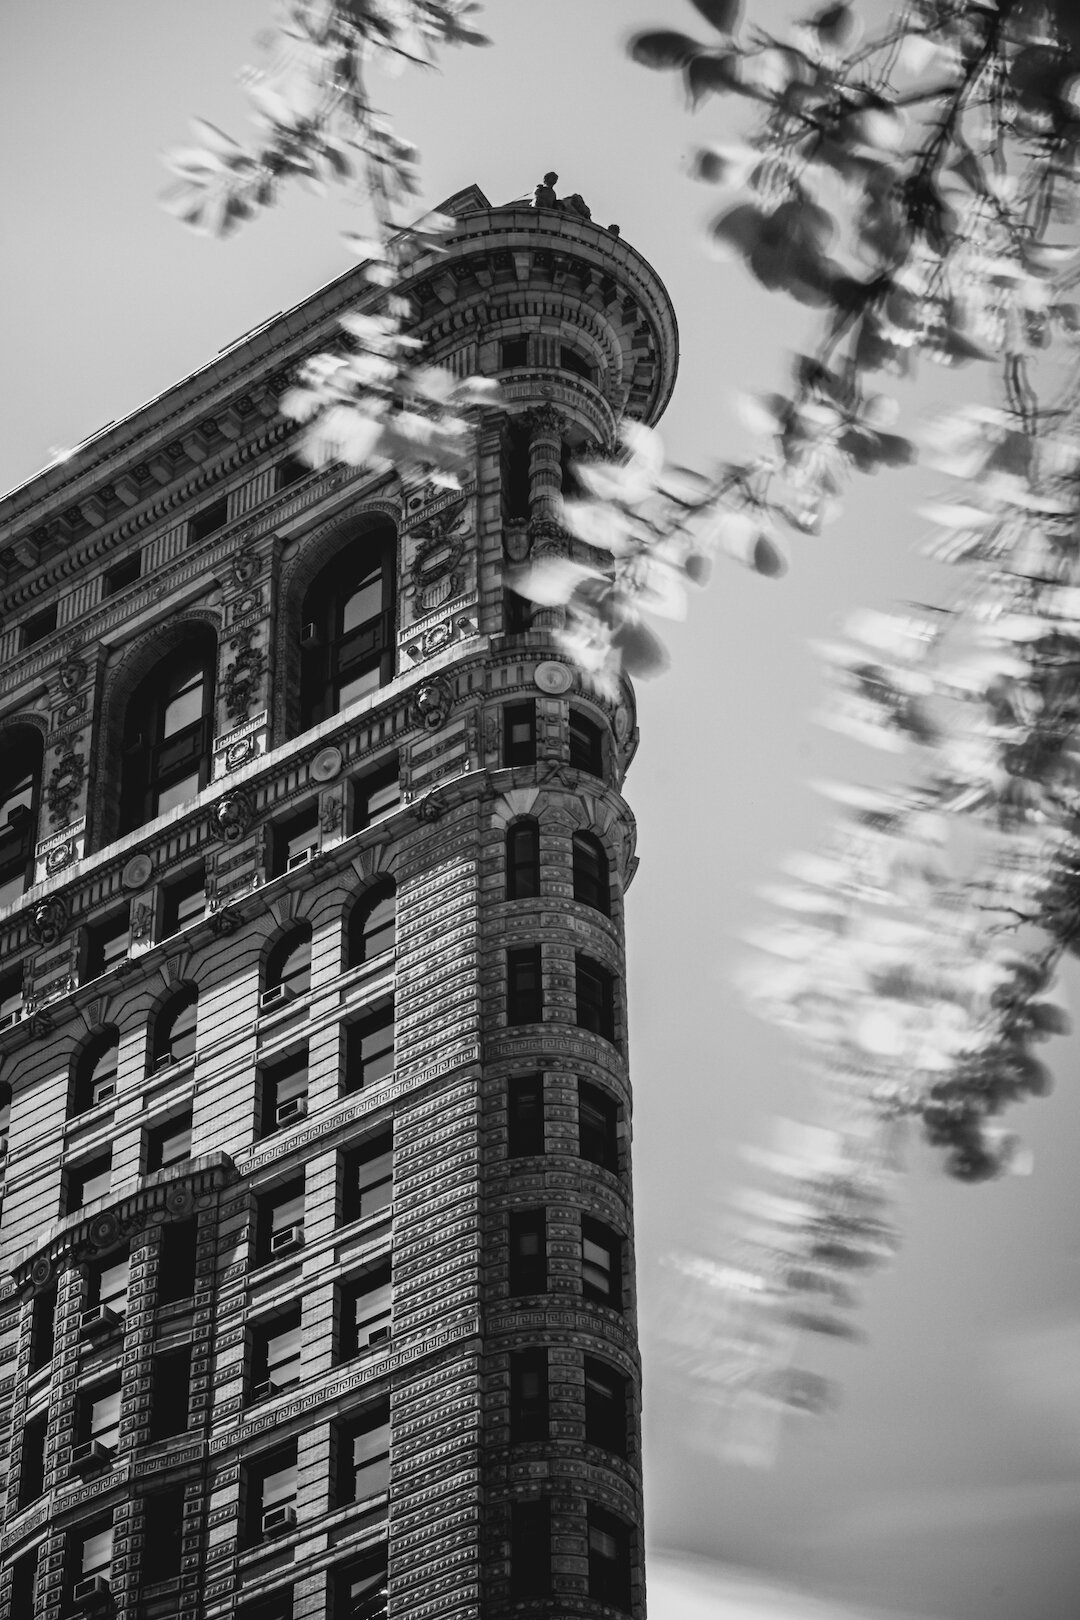
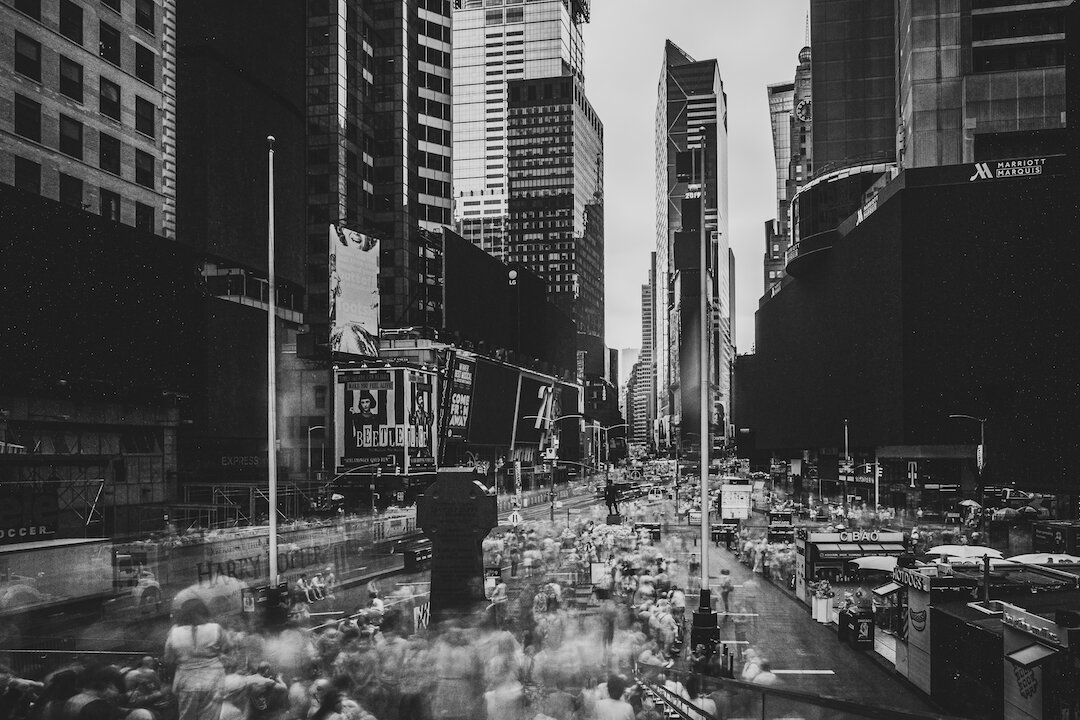
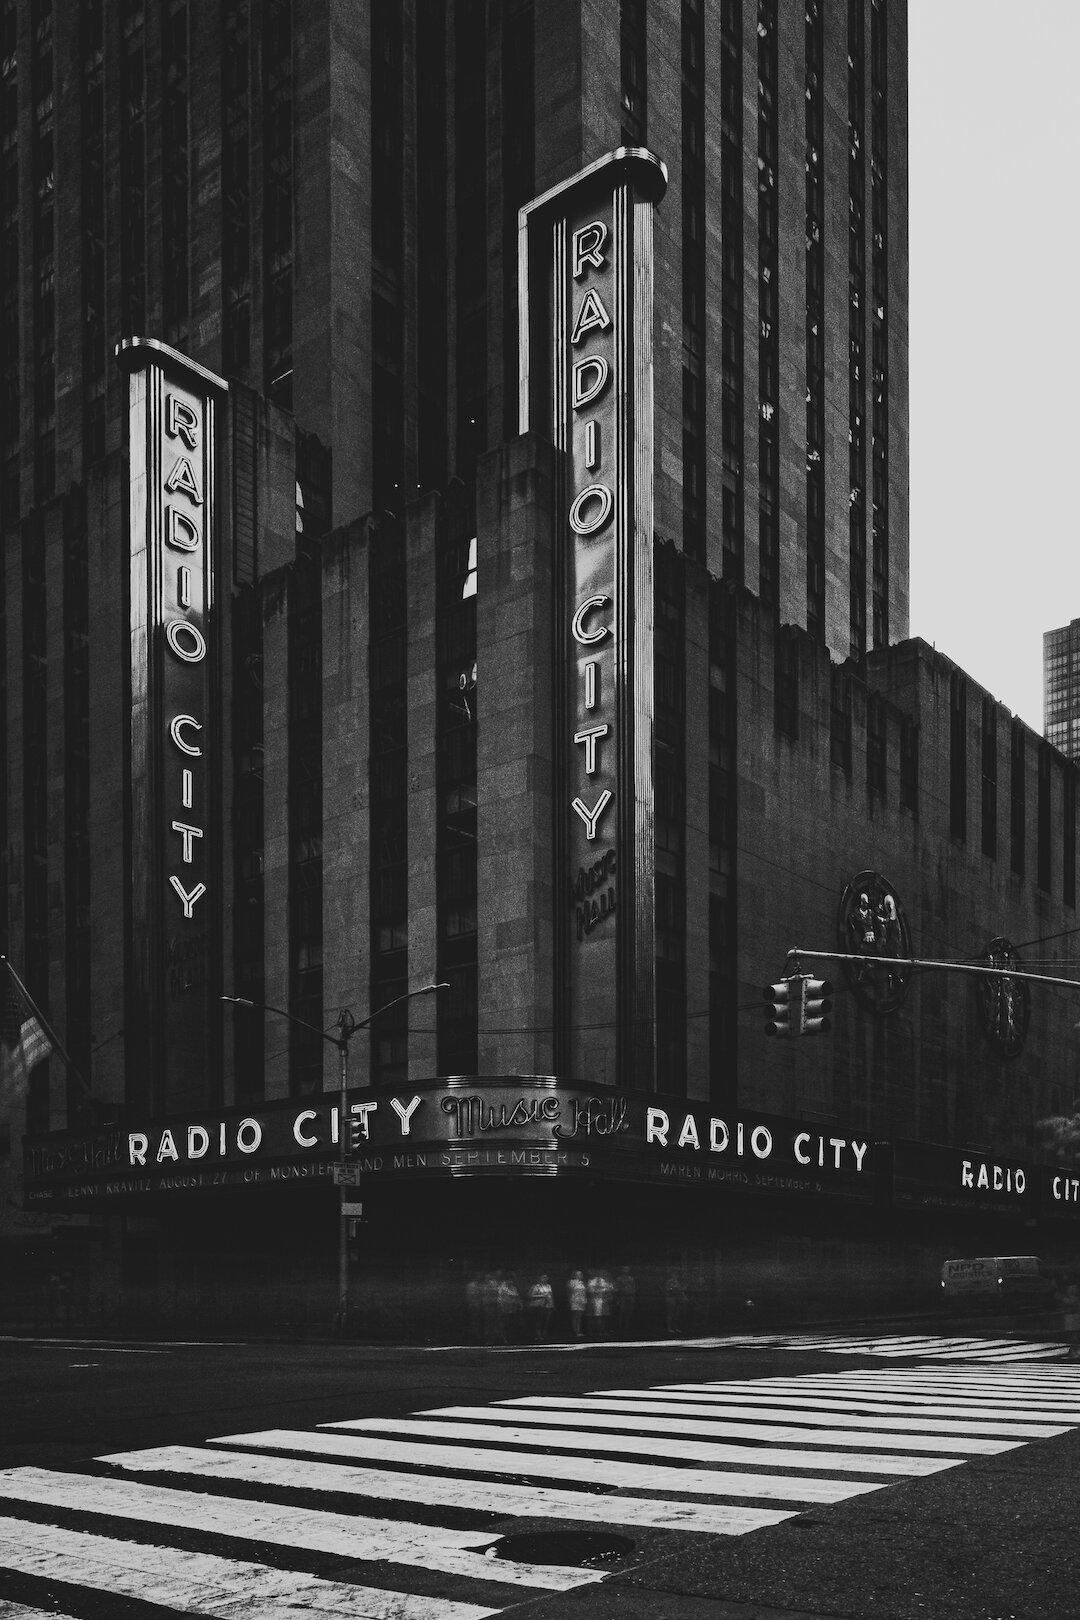
Here are some of my favorite images I created since I’ve bought the Hoya filter, in combination with the Fujifilm X-T2 and the Fujinon XF16-55mm that I shoot with. All processed using Adobe Lightroom:
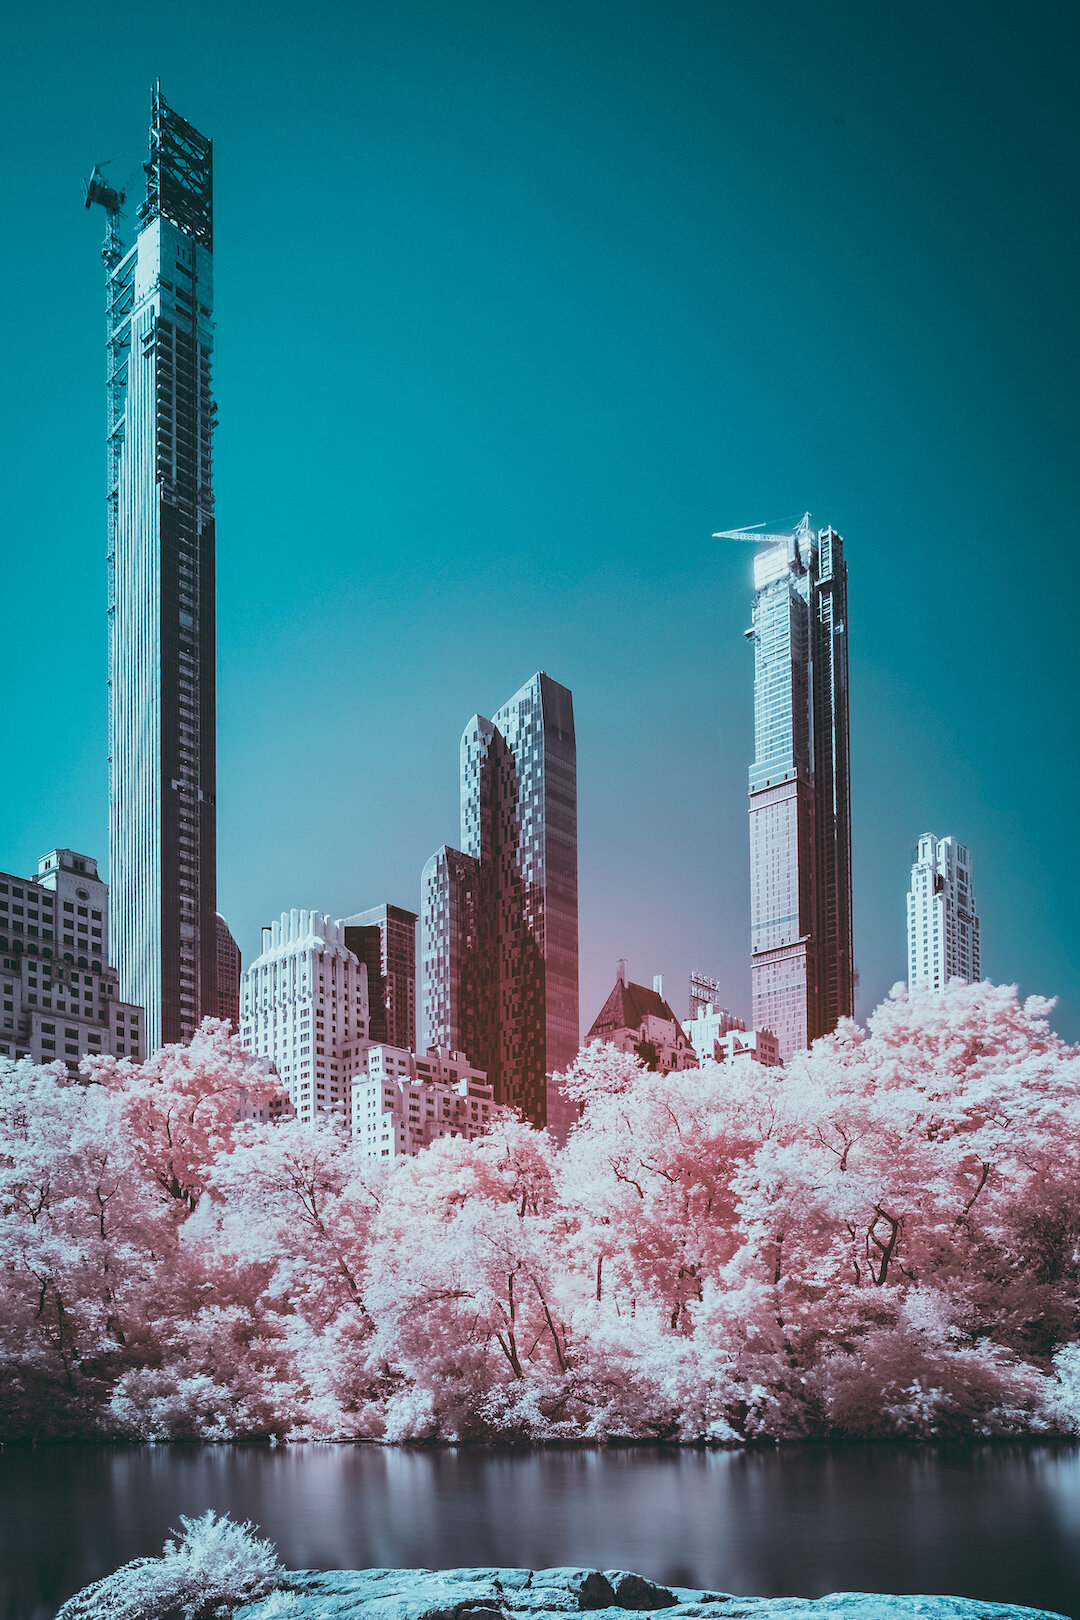
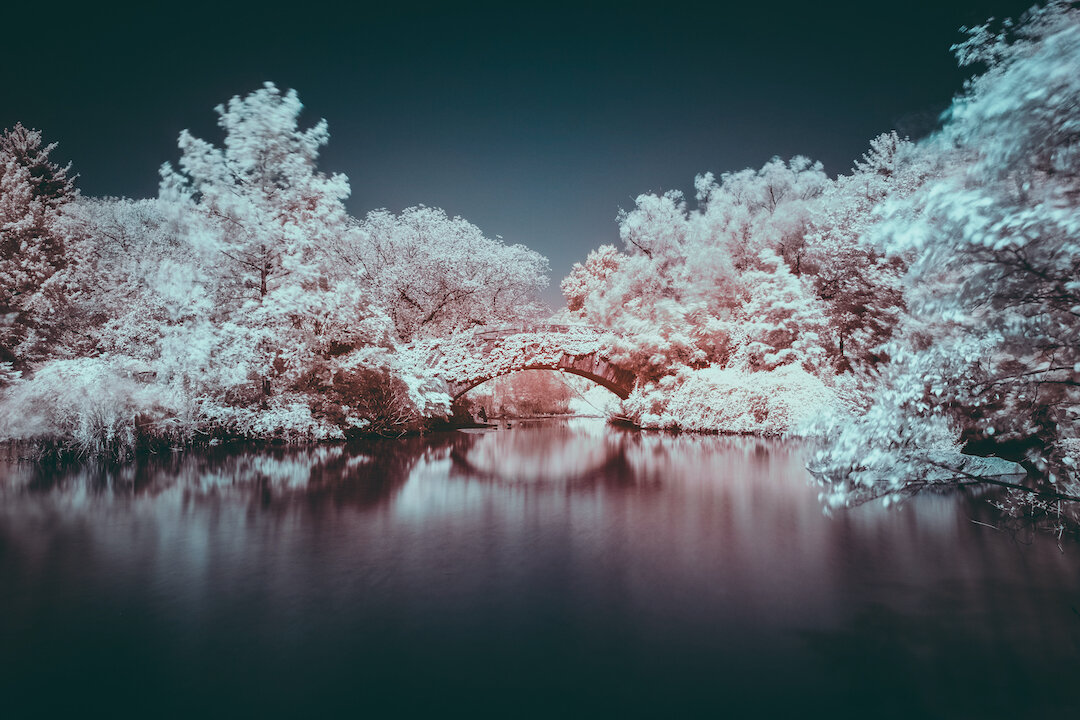
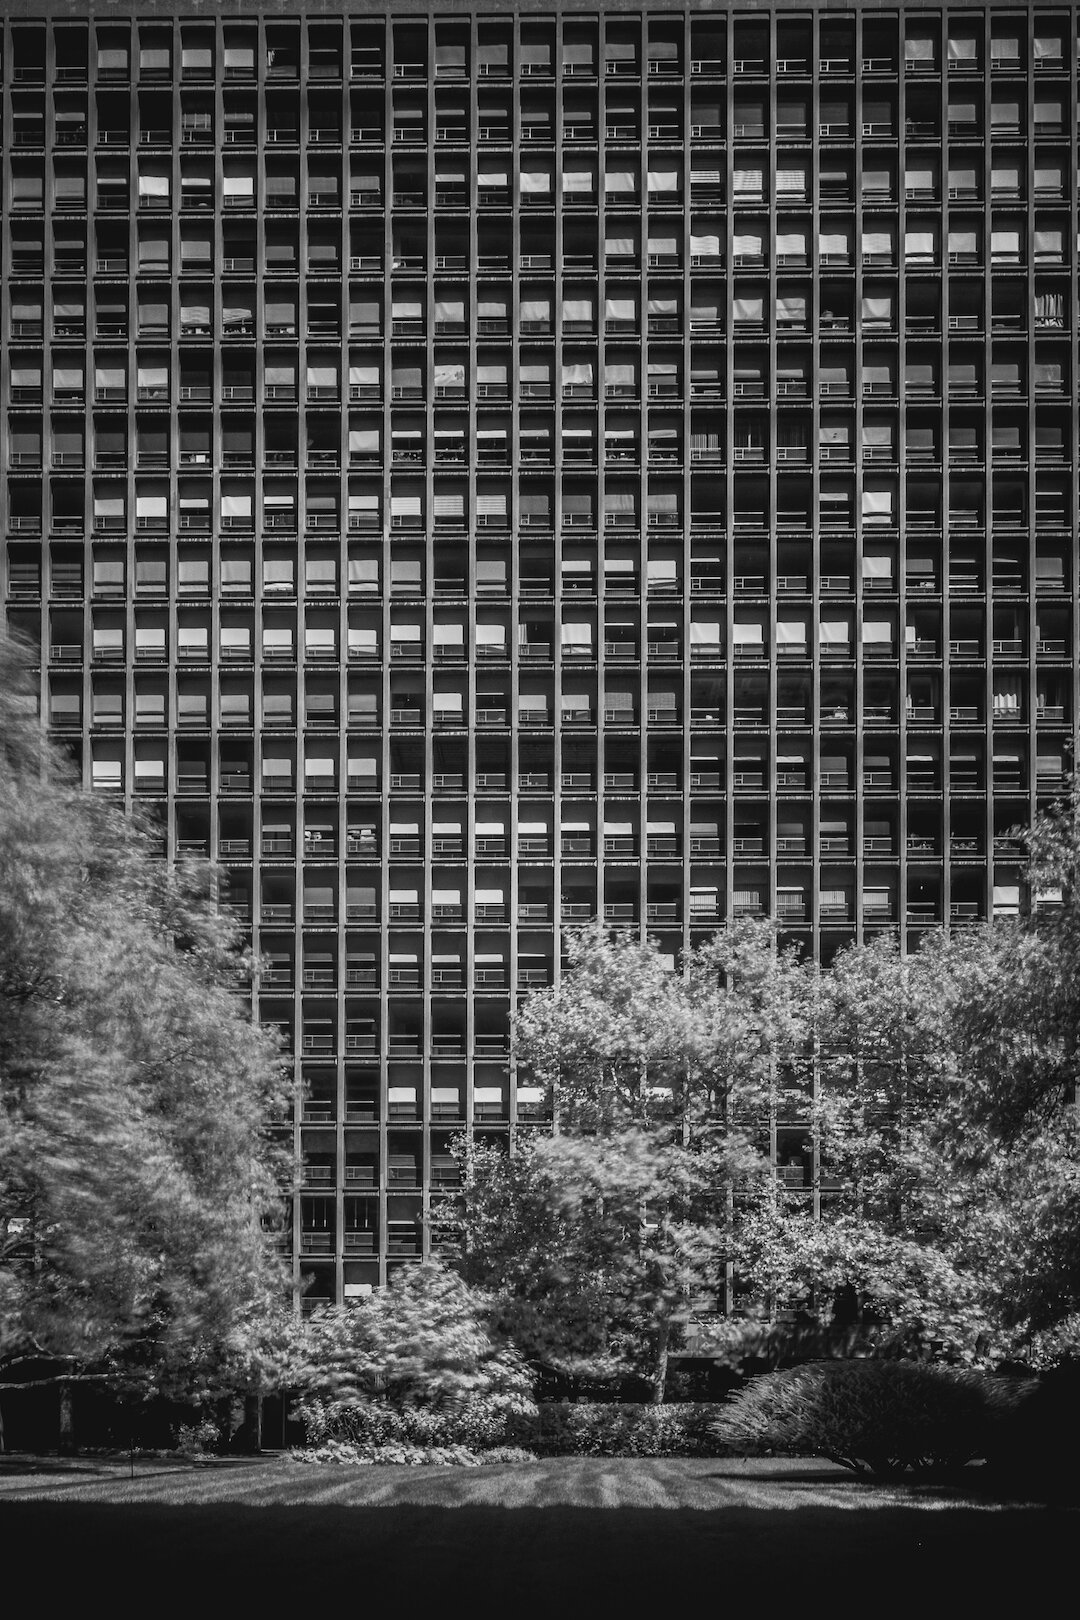
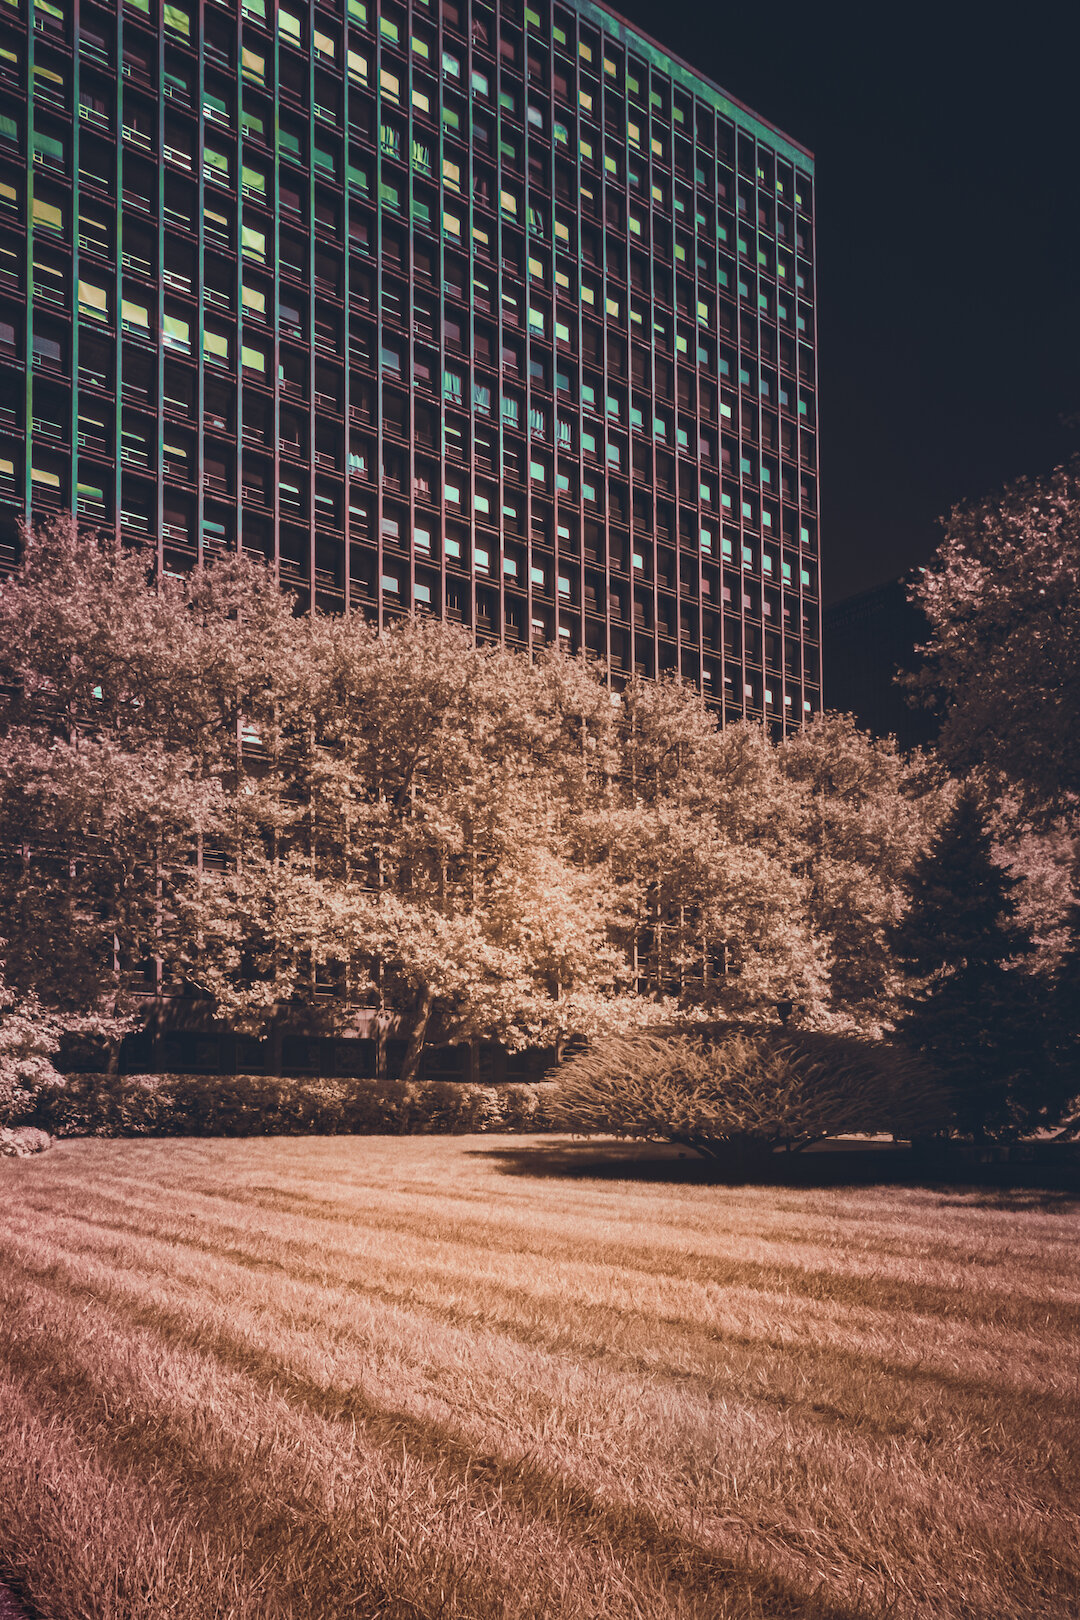
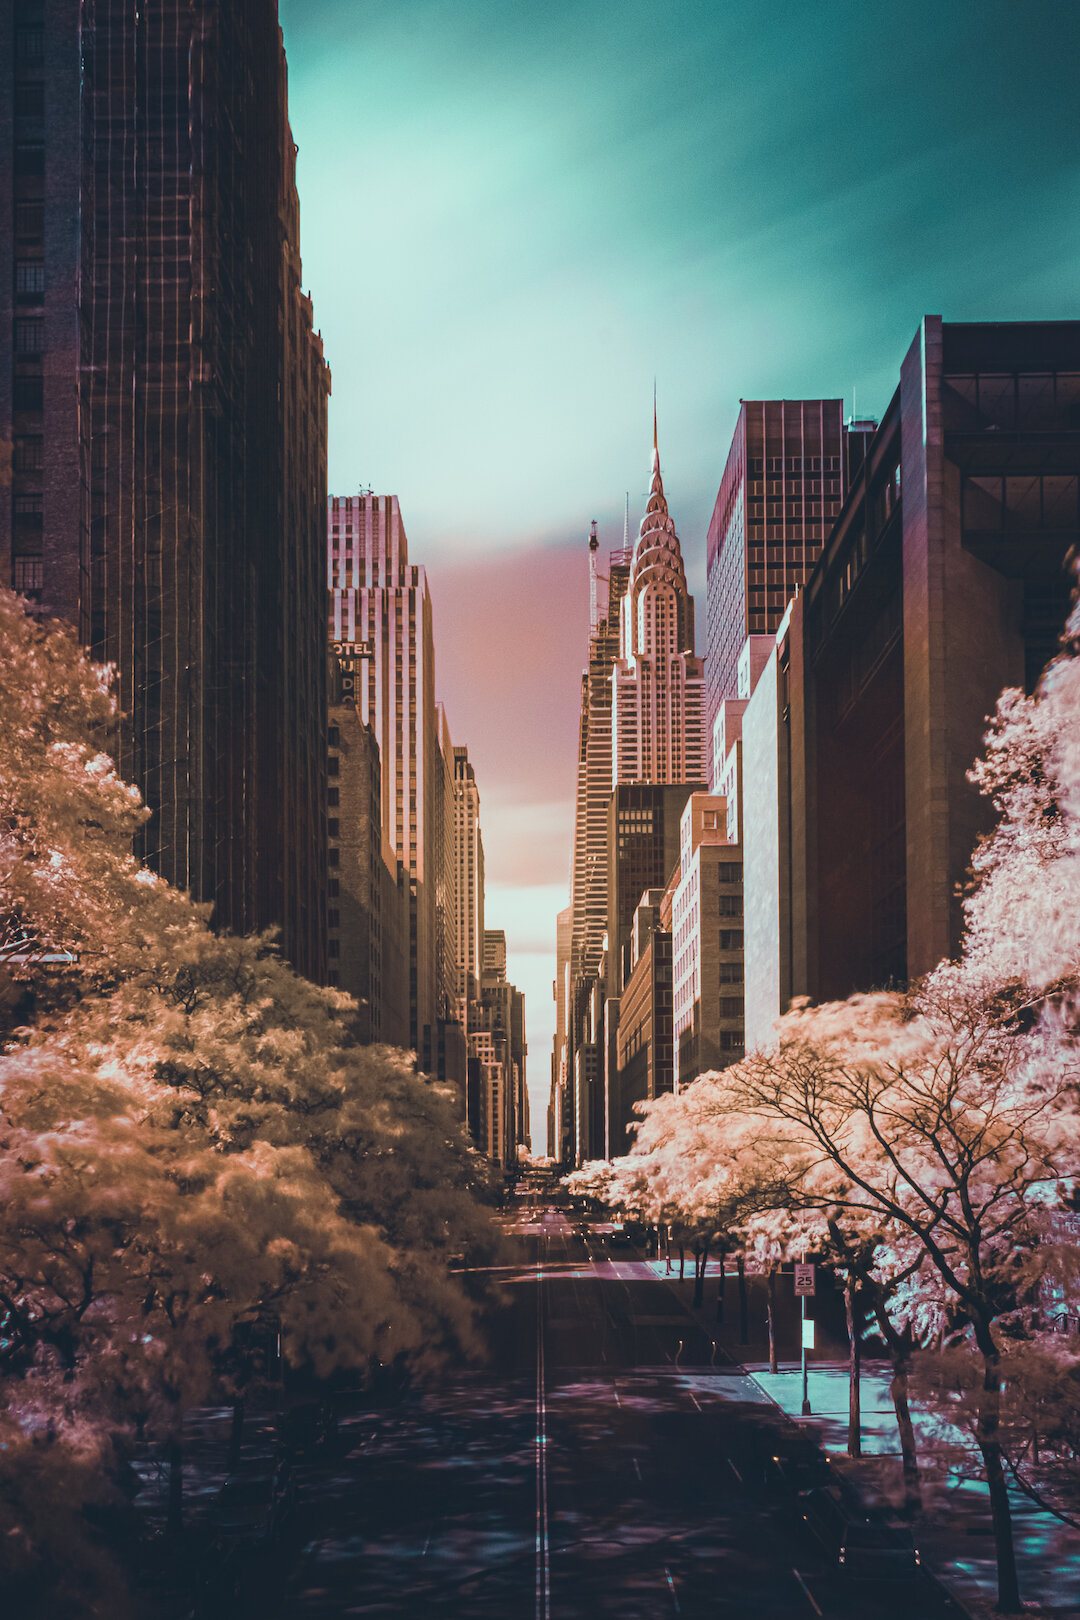
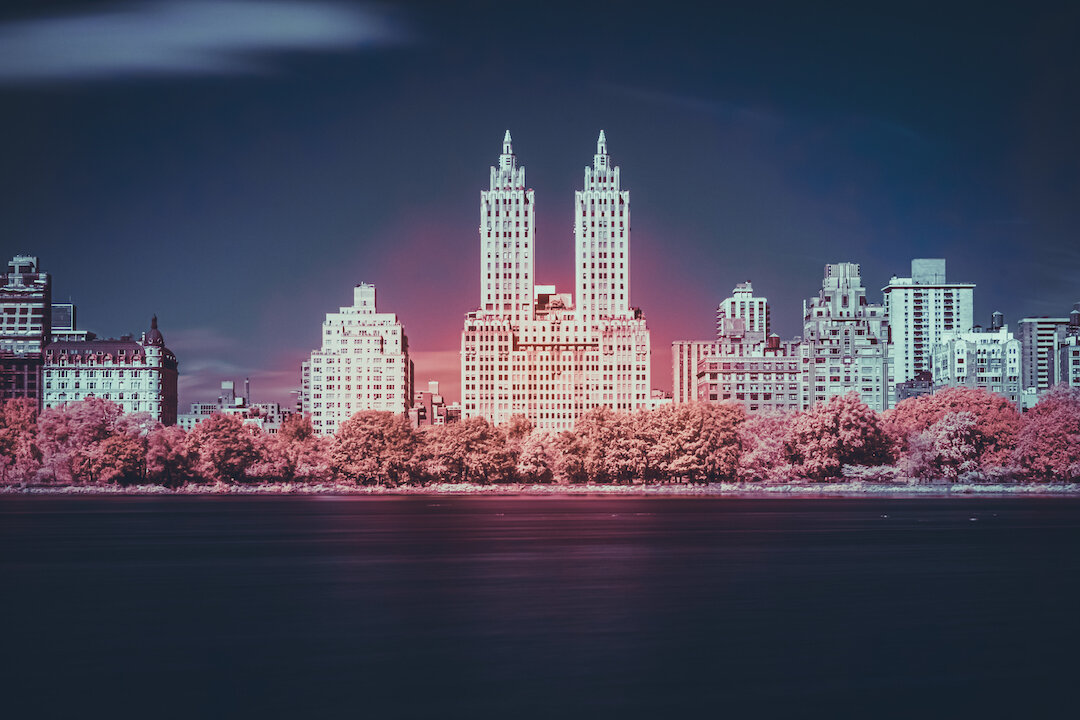

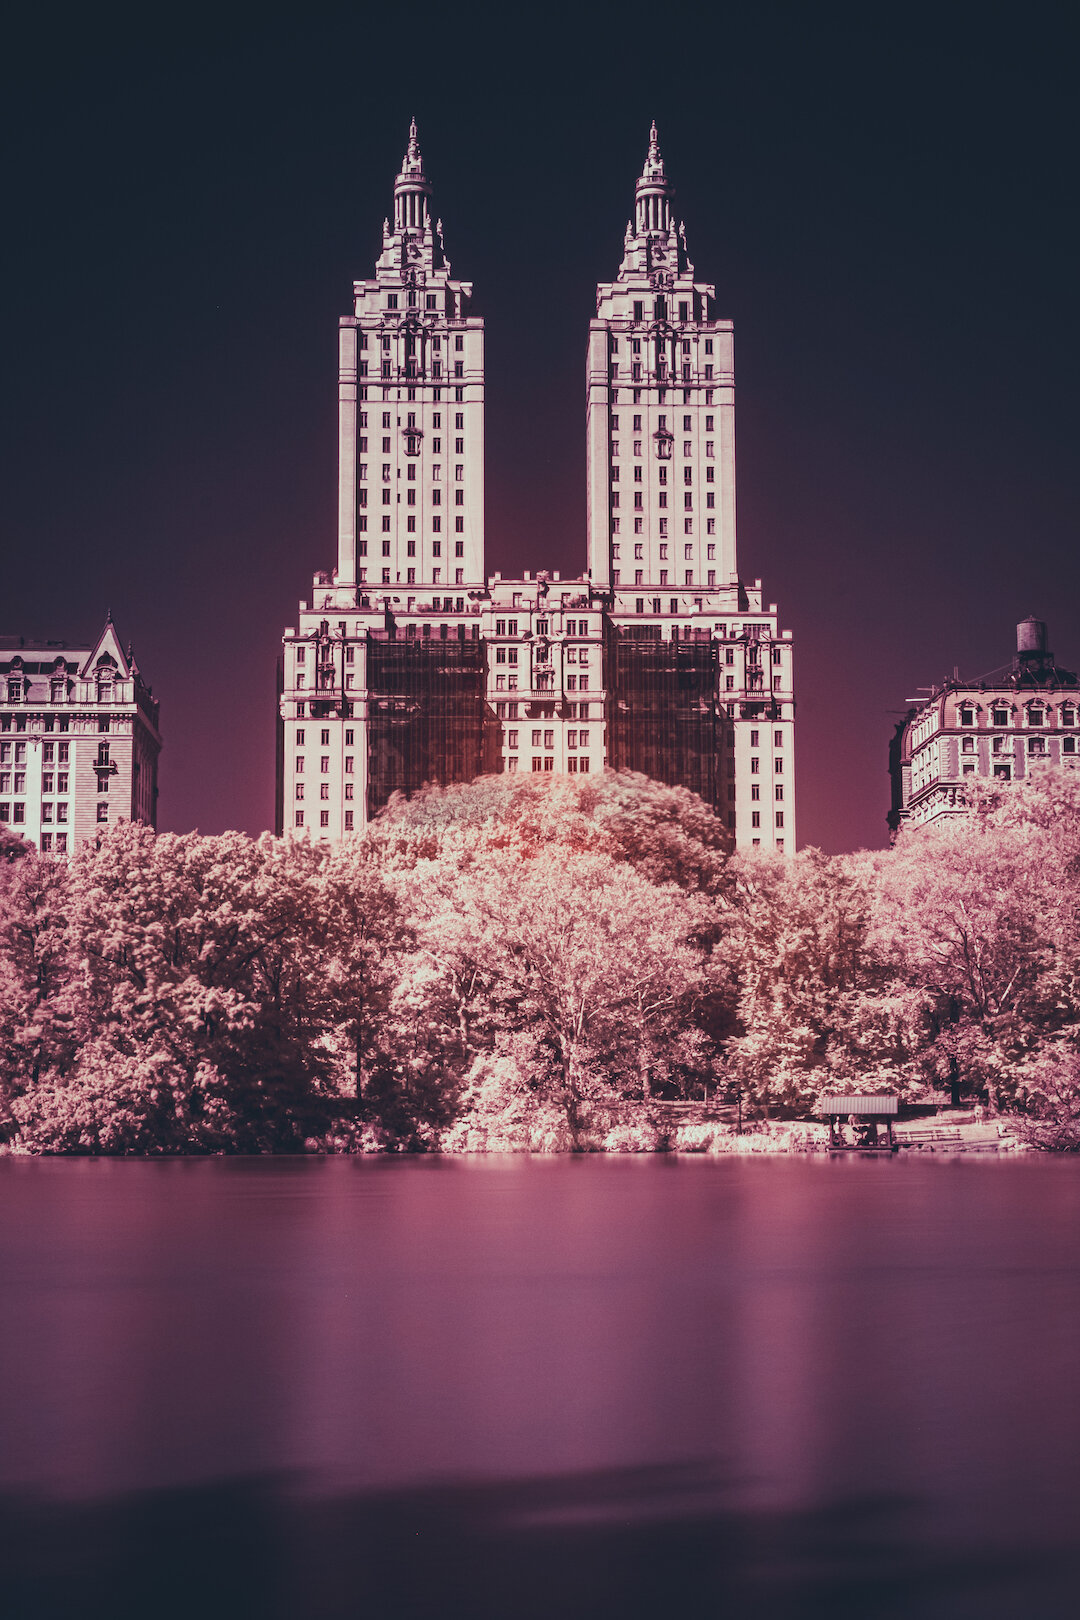
📸 • Equipment used to take these photographs: