One year ago I wrote a blog post on how to take In-Camera Multiple Exposures With the Fujifilm X-T2, which quickly became one of the most visited pages on my website. Following that, I decided to bring a second part, exploring a little further a few different styles I normally use when shooting Multiple Exposures. If you're not familiar with the technique, I highly recommend reading last year's entry first.
Keep in mind that not all of these "styles" will work with any kind of subject, so the idea is to explore and experiment as much as possible until you have a better understanding of what results each of them brings to the image. The more you try it, you'll start having a better judgment to know what works best on each scenario.
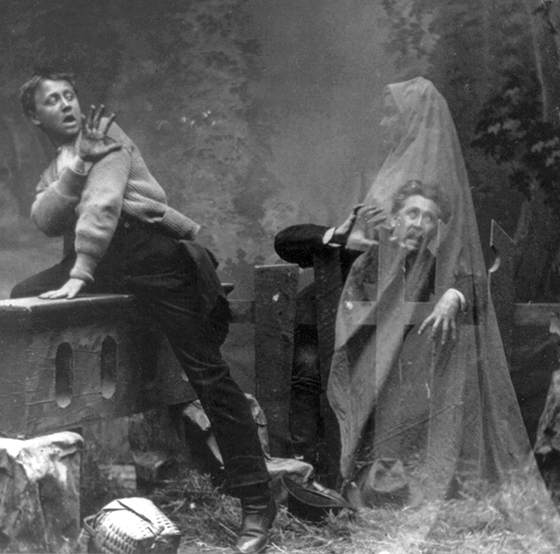
→ Upside Down
After taking the first shot, you turn the camera upside down, re-frame it, and take the second shot. There are basically 2 ways of approaching this: 1) Framing both shots keeping the horizon in the center; or 2) Framing both shots but this time keeping the bottom of the picture (normally the ground) in the center:
San Francisco | © Leonardo Mascaro • Equipment used: Fujifilm X-T2 + Fujinon XF16-55mmF2.8 R LM WR
Both cases will result in a mirrored and keep your final image very symmetrical.
Kate K-S @ National Sawdust, NYC | © Leonardo Mascaro • Equipment used: Canon 6D
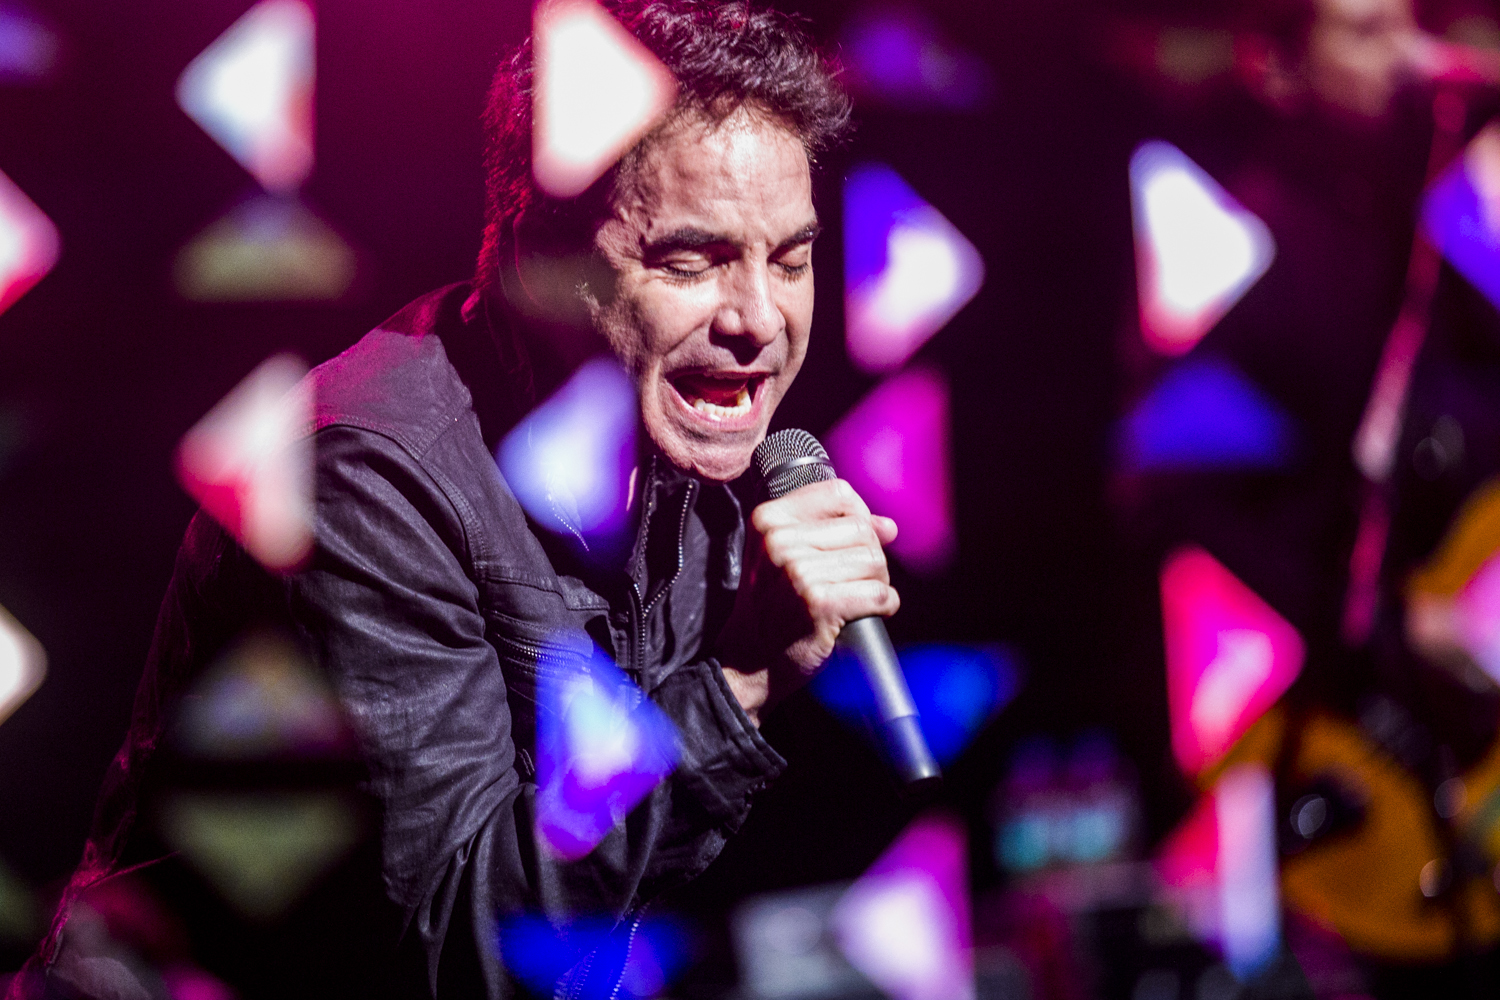
→ Out of Focus
For this one, after taking the first shot exactly the way you want it, you switch the lens to manual focus, blur everything on purpose and place the same subject (blurred in this case) a little higher in the frame, knowing that the area was pretty dark in the first shot. Another option is to look for other bright colors and lighting sources to use it as the second shot:
Natalie Forteza @ The Iridium, NYC | @ Leonardo Mascaro • Equipment used: Canon 6D
→ Zoom in or Out
What you do here is, using a zoom lens (of any range), after taking the first shot you simply zoom in (or out) from your subject, reframe to make sure you still have enough interesting things on the frame, and take the second shot. In both examples, both shots were sharp, but you can also experiment with zooming in (or out) while also blurring everything on the second shot.

Manhattan Bridge, NYC | © Leonardo Mascaro Reuben Koops | © Leonardo Mascaro
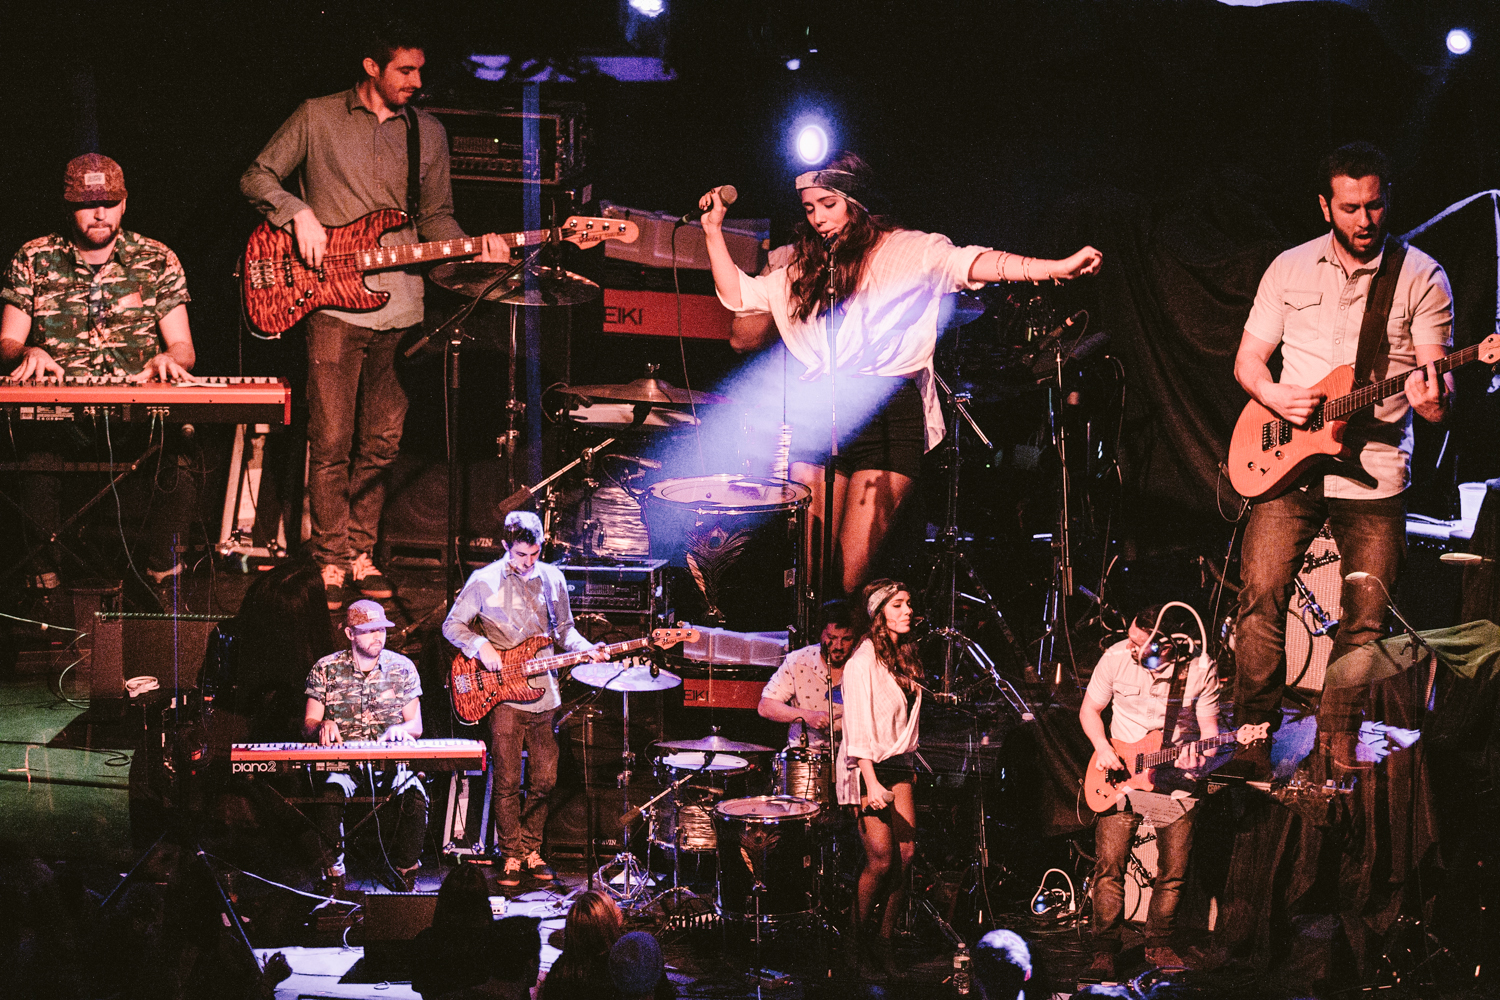
→ Rotation
This one works better with 3 (or more) exposures. What you do is, after the first shot, slightly rotate the camera (trying not to change the composition much) on each subsequent shot. In this case, more things in the scene (and an interesting background) can really make a difference.
ABIAH @ Joe's Pub, NYC | © Leonardo Mascaro • Equipment used: Canon 6D
→ Final Thoughts
At first, it's going to be a lot of trial and error but, at some point, you will start to have a better idea of how to frame the second shot to achieve the results you are looking for. The more you practice, the more you'll understand the possibilities and you will start visualizing the images in your mind even before you take it. But also keep in mind that not all the techniques will work well in any scenario. Sometimes nothing will work actually.
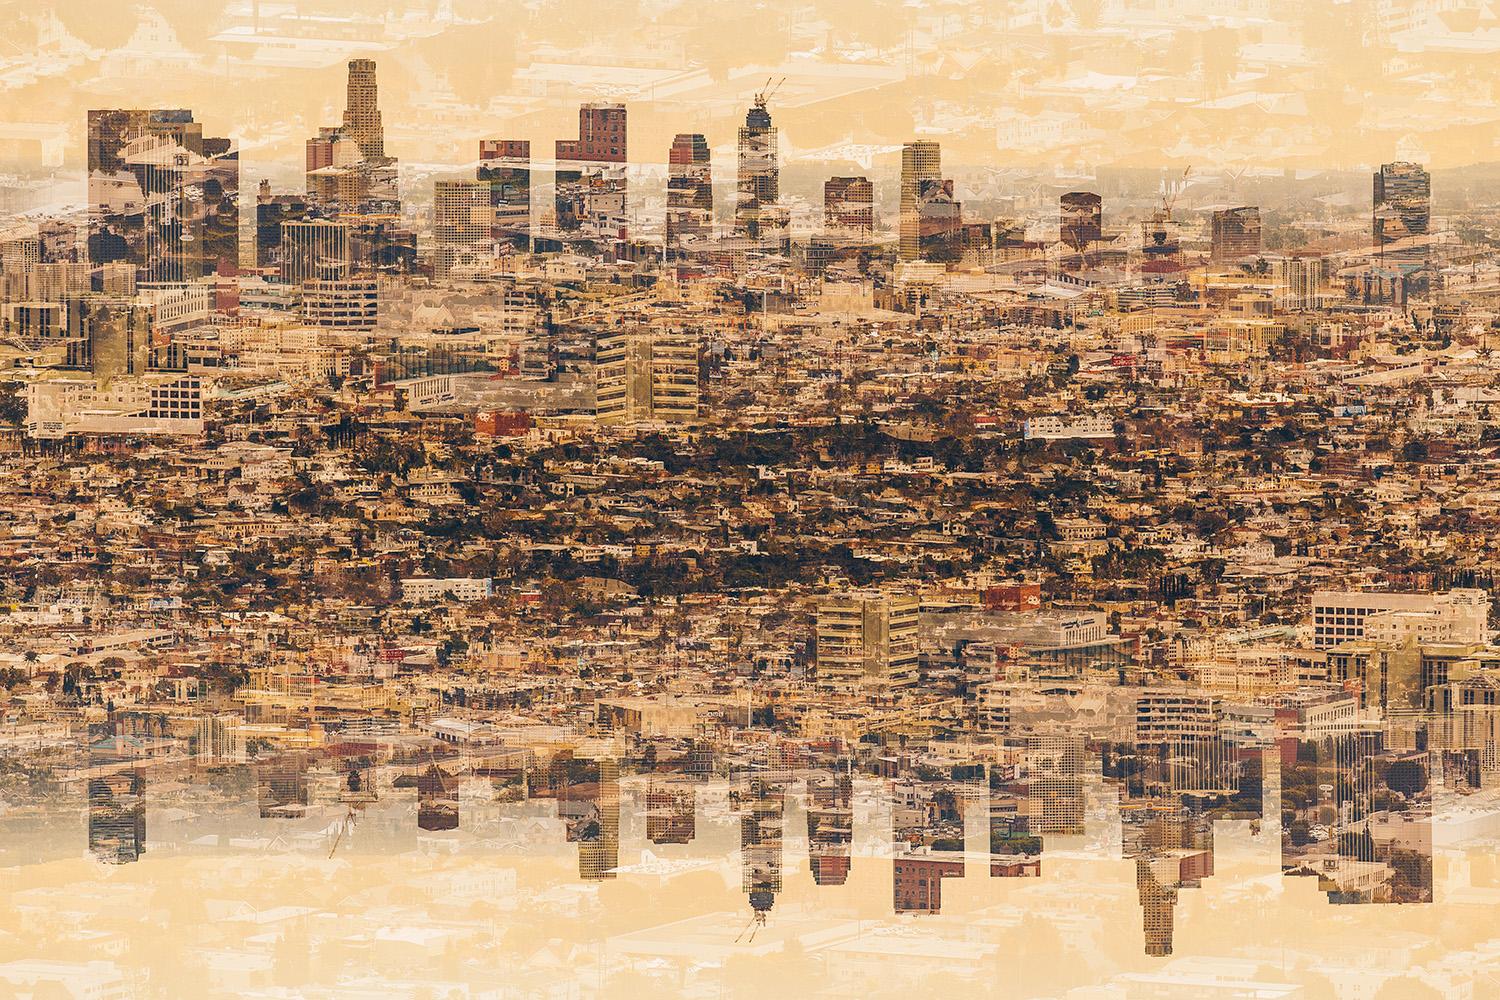
Like almost every other technique, the most important thing is to just keep shooting until you get the hang of it. There's always room for improvement. Here are a few other examples for inspiration. Have fun!
Los Angeles, CA | © Leonardo Mascaro • Equipment used: Canon 6D
Upright Man @ Brooklyn Bowl, NYC | © Leonardo Mascaro • Equipment used: Canon 6D
Louvre Museum, Paris | © Leonardo Mascaro • Equipment used: Canon 6D
Addie & Jacq @ Rockwood Music Hall, NYC | © Leonardo Mascaro • Equipment used: Canon 6D
Leah Harris @ Rockwood Music Hall, NYC | © Leonardo Mascaro • Equipment used: Canon 6D