This is a series where I post one image at a time, and share a story “Behind The Shot”, that could be something technical, a challenge, or just an anecdote from the day of. Feel free to explore past entries by clicking here.

This is one of those cases where we have a picture in our minds and have to wait for the perfect conditions to get it. I’ve always been obsessed with looking at photographs of NYC covered in fog, specifically the bridges, which are by far some of my favorite subjects to shoot in the city. It all happened back in 2018, on a foggy night just before summer started. The forecast was predicting another foggy night and I decided that was finally going to be the day where I’d be able to shoot the world-famous Brooklyn Bridge, at night, covered in the fog. I grabbed my trusty camera, a tripod, and biked down to the bridge as quickly as I could. This is one of the few angles I’ve tried and probably one of my favorite photographs I’ve ever taken of the bridge!
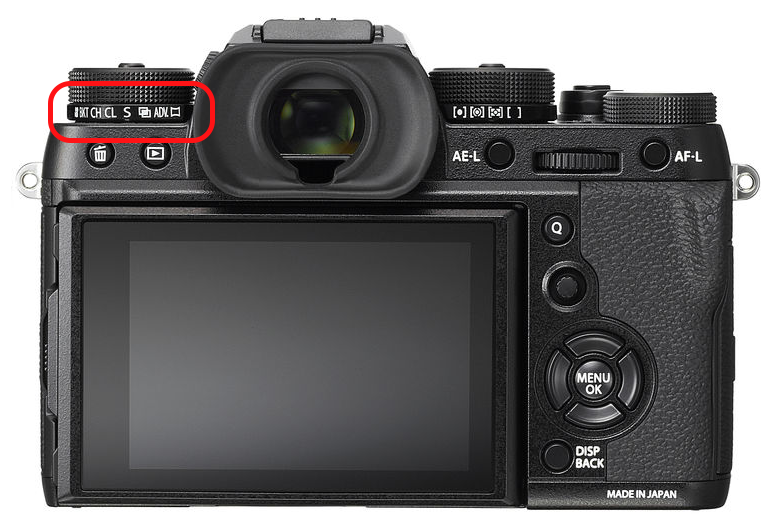
For the fellow Photography enthusiasts out there, here’s the equipment and settings used for this shot:
Fujifilm X-T2 + Fujinon 16-55mm 2.8 • 1s f/4.5 ISO 100
This is one of 10 photographs currently available at my print shot, in case you’re interested:
If you enjoy posts like this, you may enjoy the Newsletter I send every two weeks: