After the great feedback I got last year, I’m back with the 2022 version of my popular Oscars Tracker Notion Template, following the announcement of all the nominees this week:

Even though I'm calling this a template, since anyone can duplicate it into your own Notion system, this works more as a guide than a template, since all the content is already there ready to be used.
I've been using Notion for a while now to track all my content consumption, like movies I've watched, tv-series I'm currently watching, books I'm reading or want to read, music I want to listen to, even video games I'm playing. Especially now having a weekly newsletter where I share music recommendations (learn more about it), it's very important for me to have all this content centered in one place.
So here are a few screenshots explaining the basics of the template.
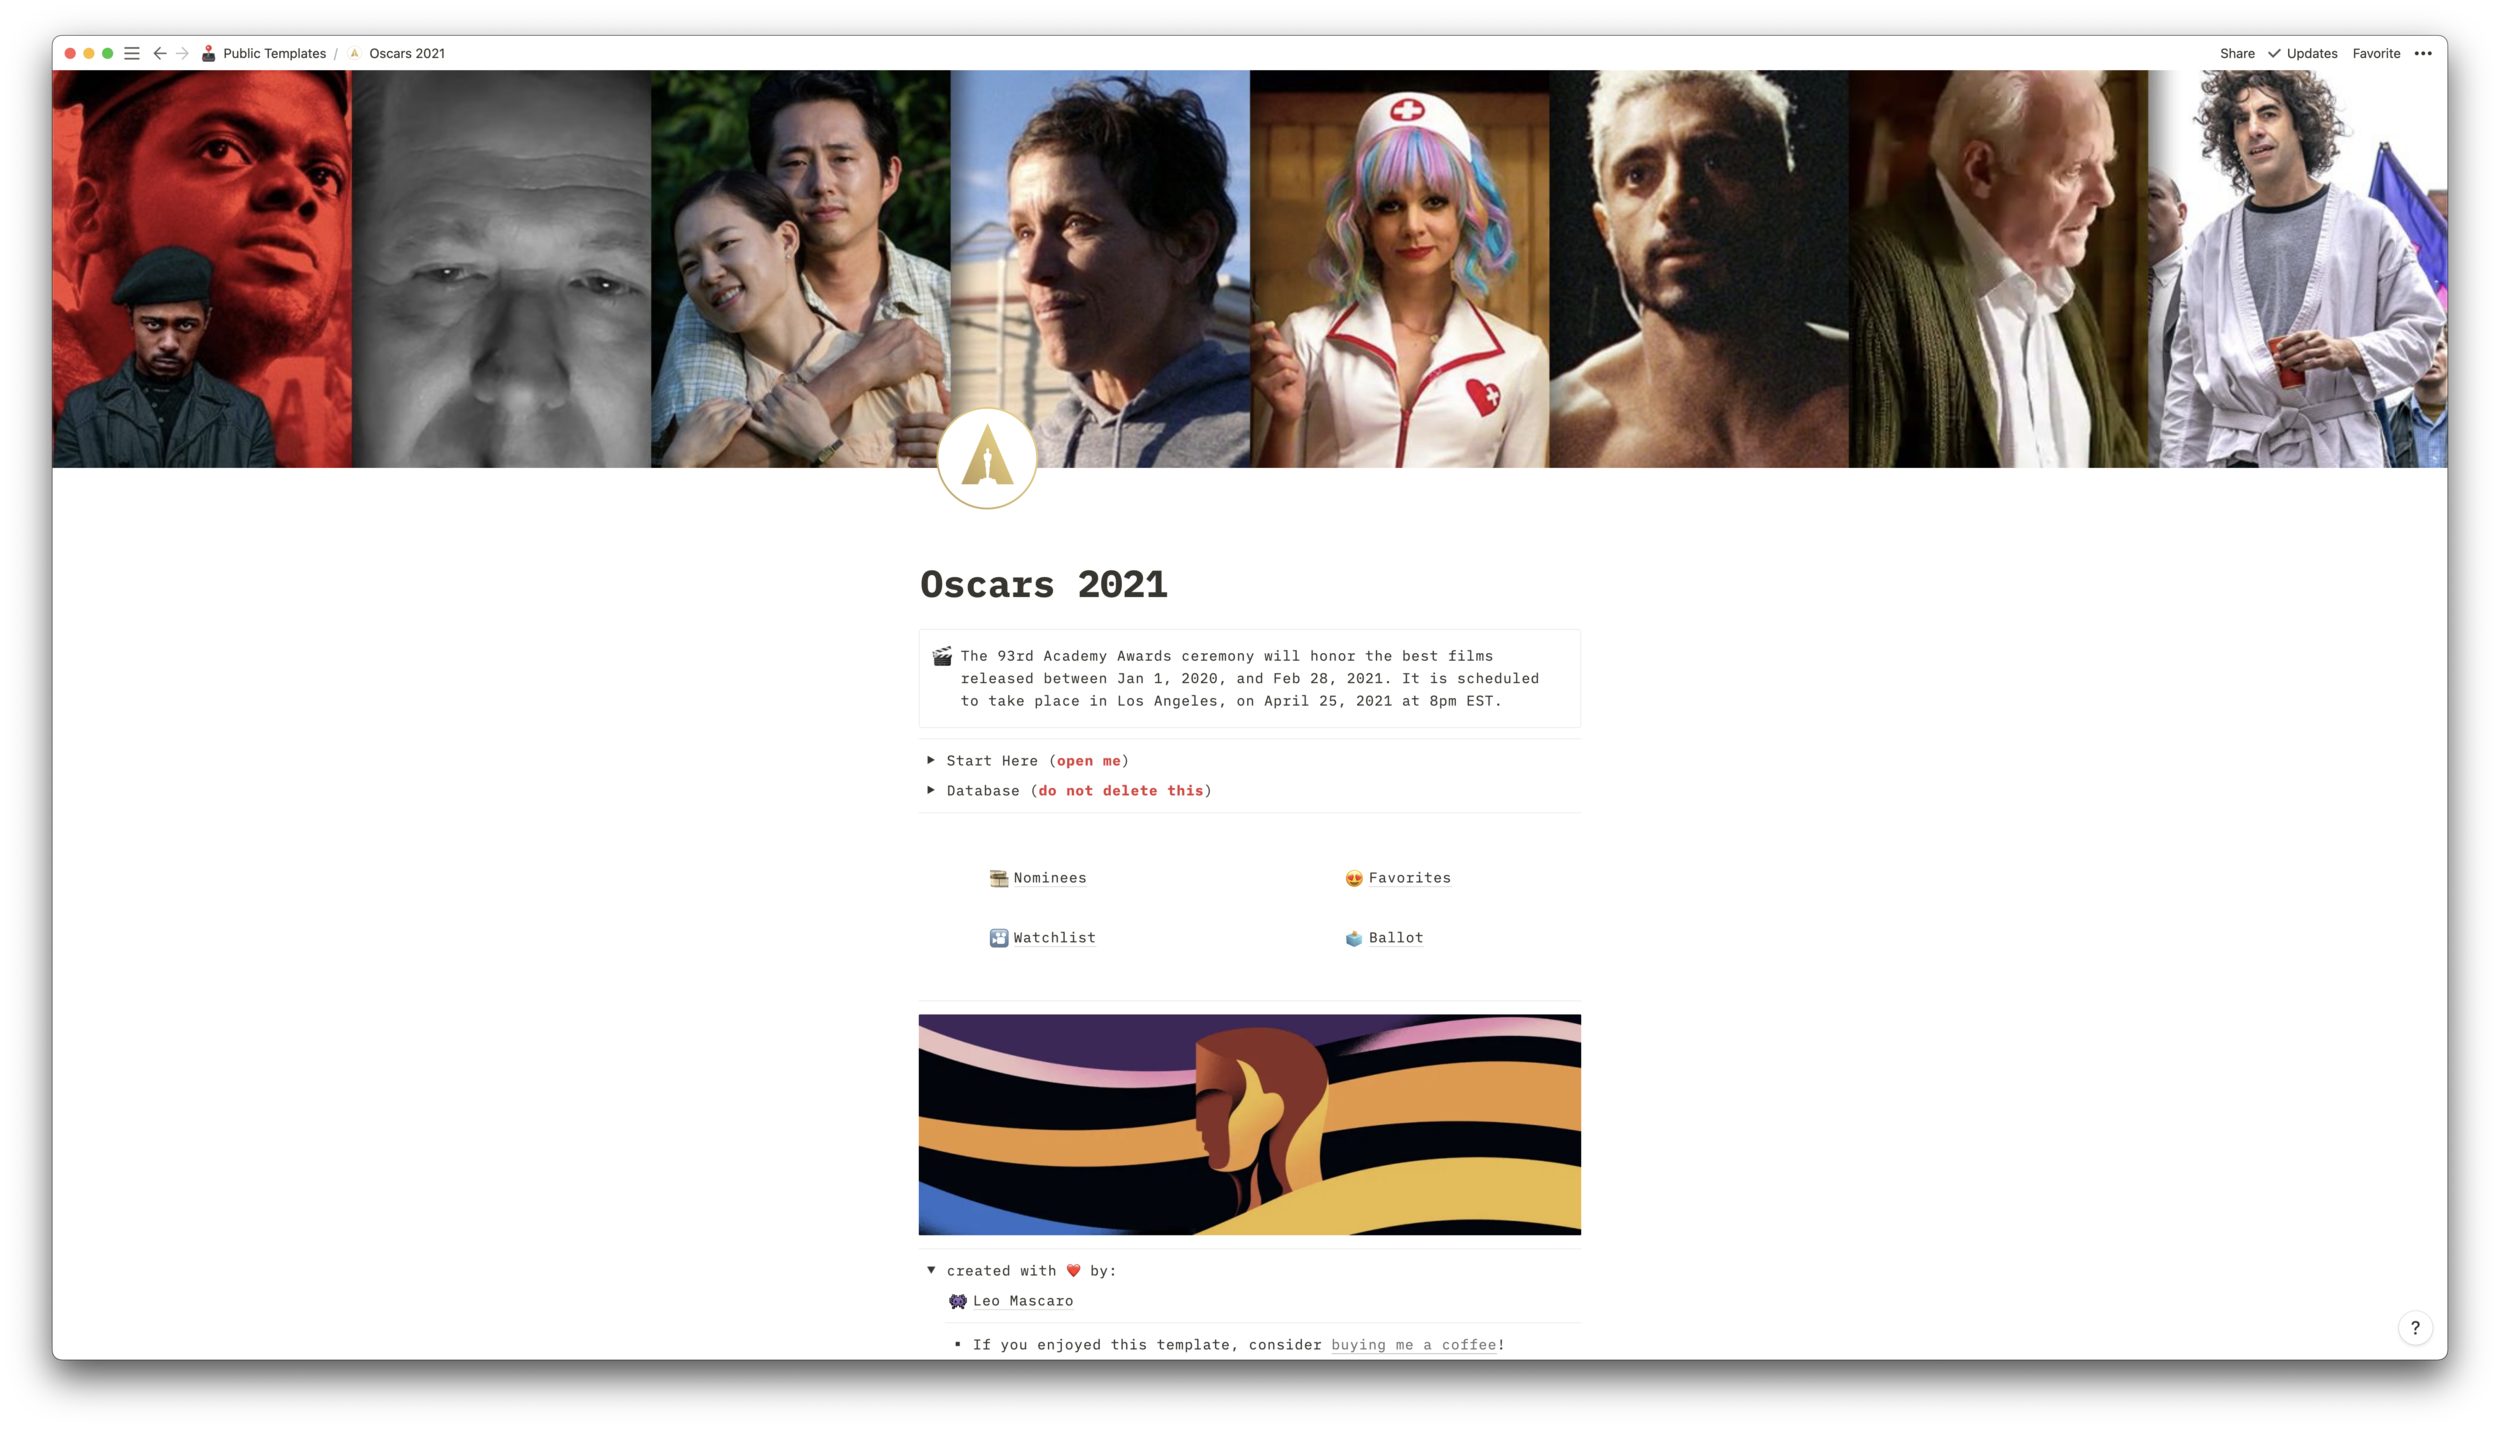
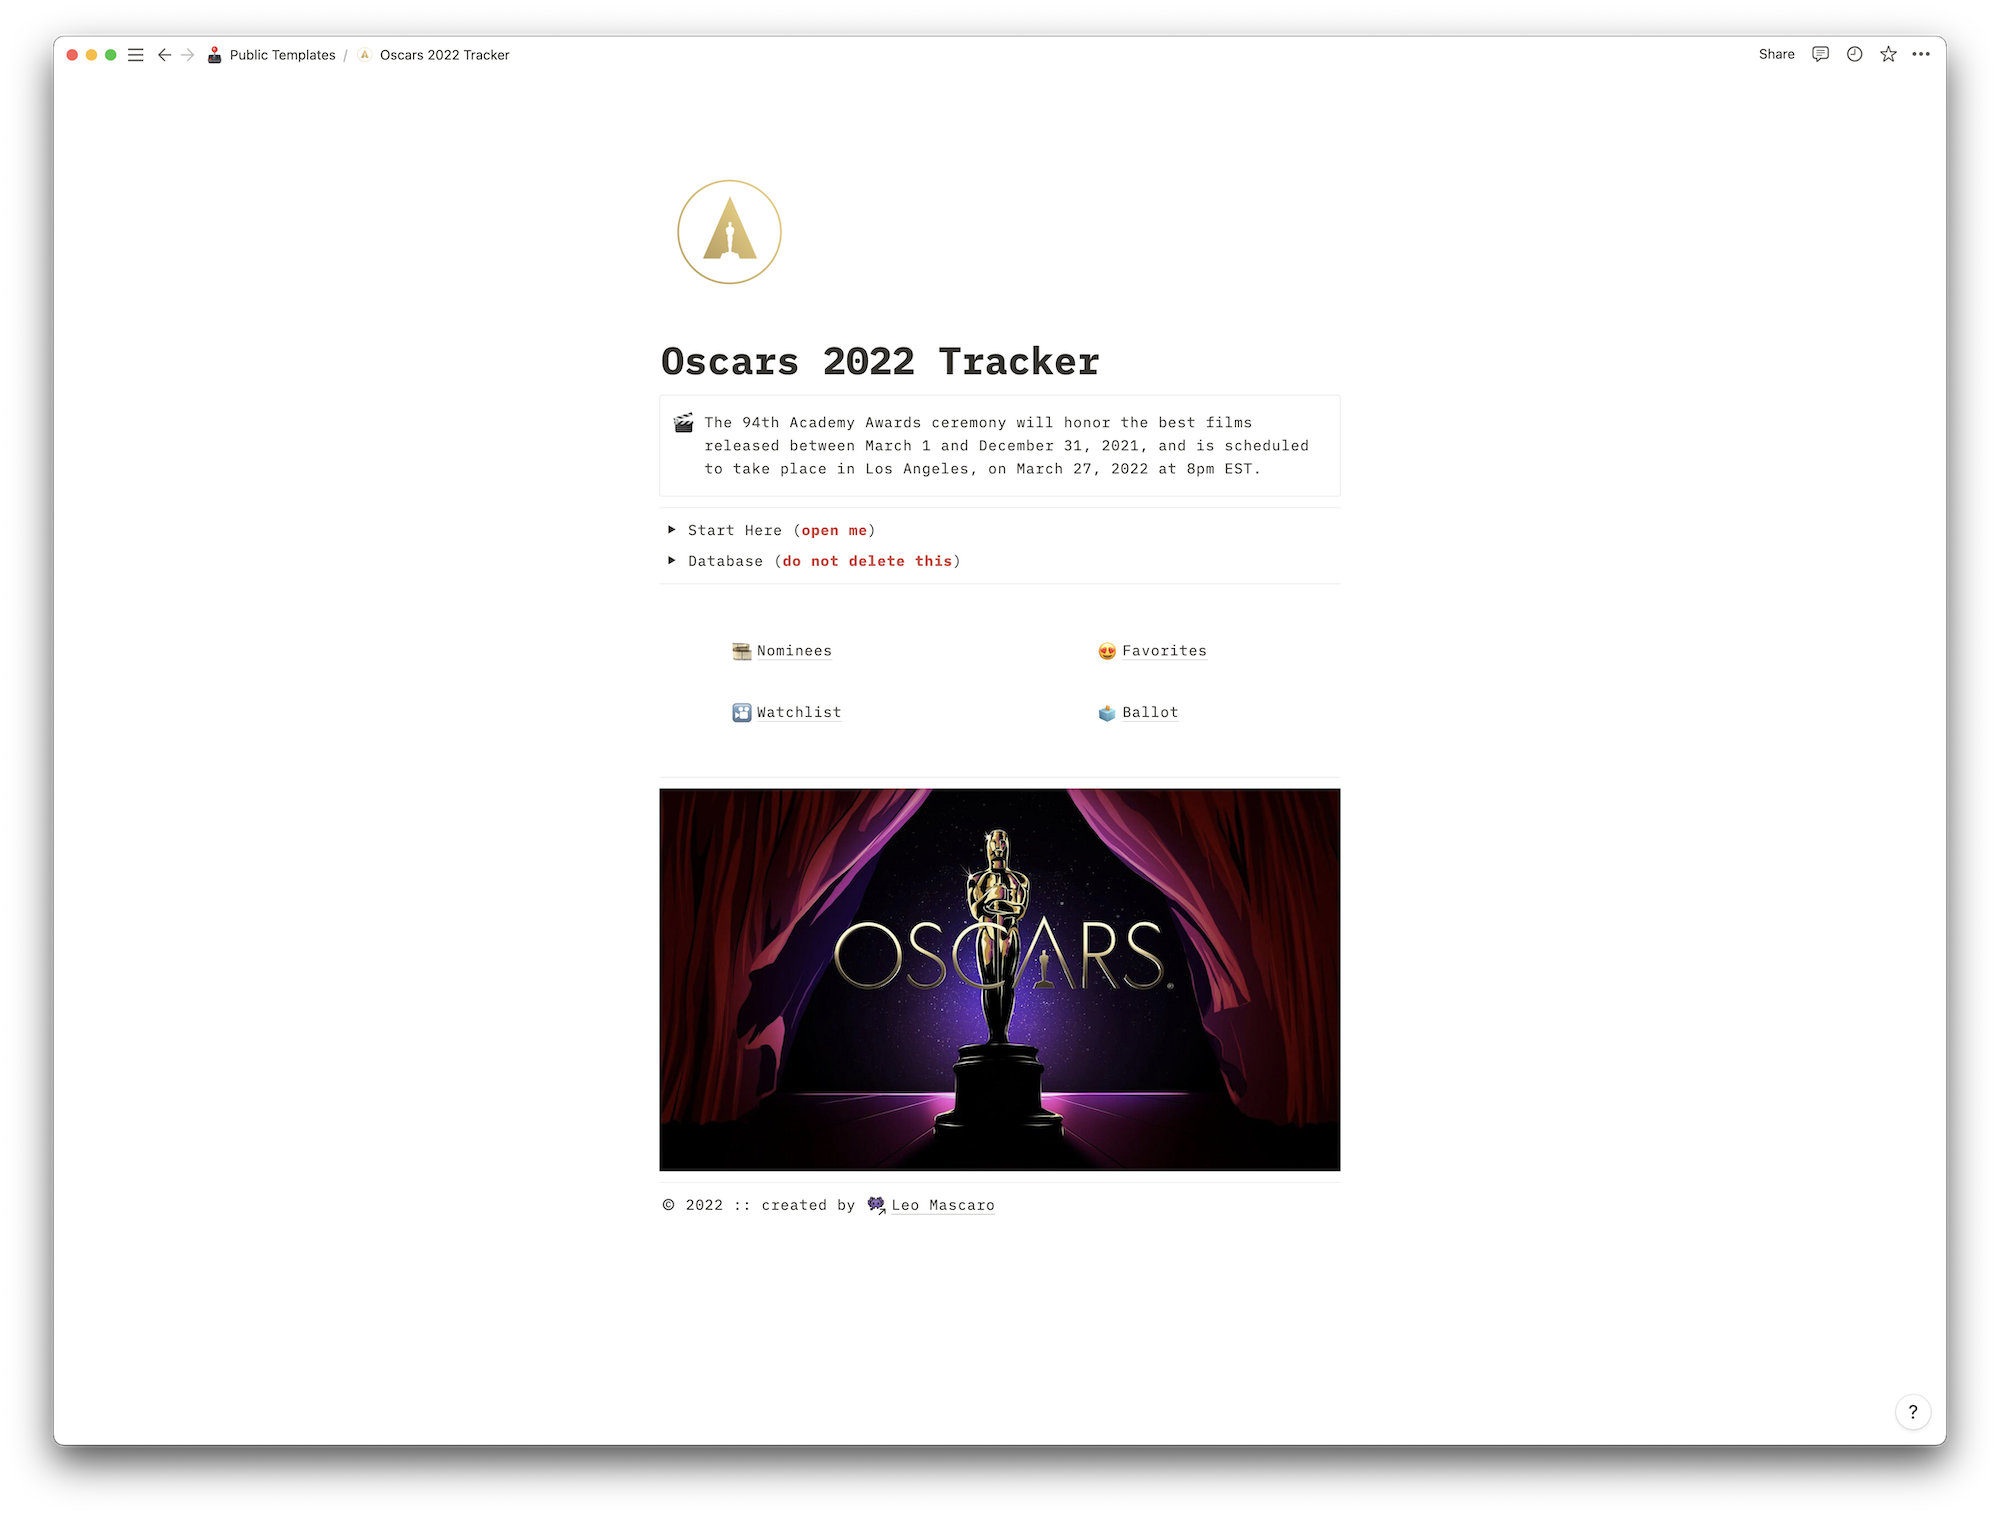
« 1 » This is the home page, where you'll get a quick explanation of how the system works, and links to the specific pages for the different pages:
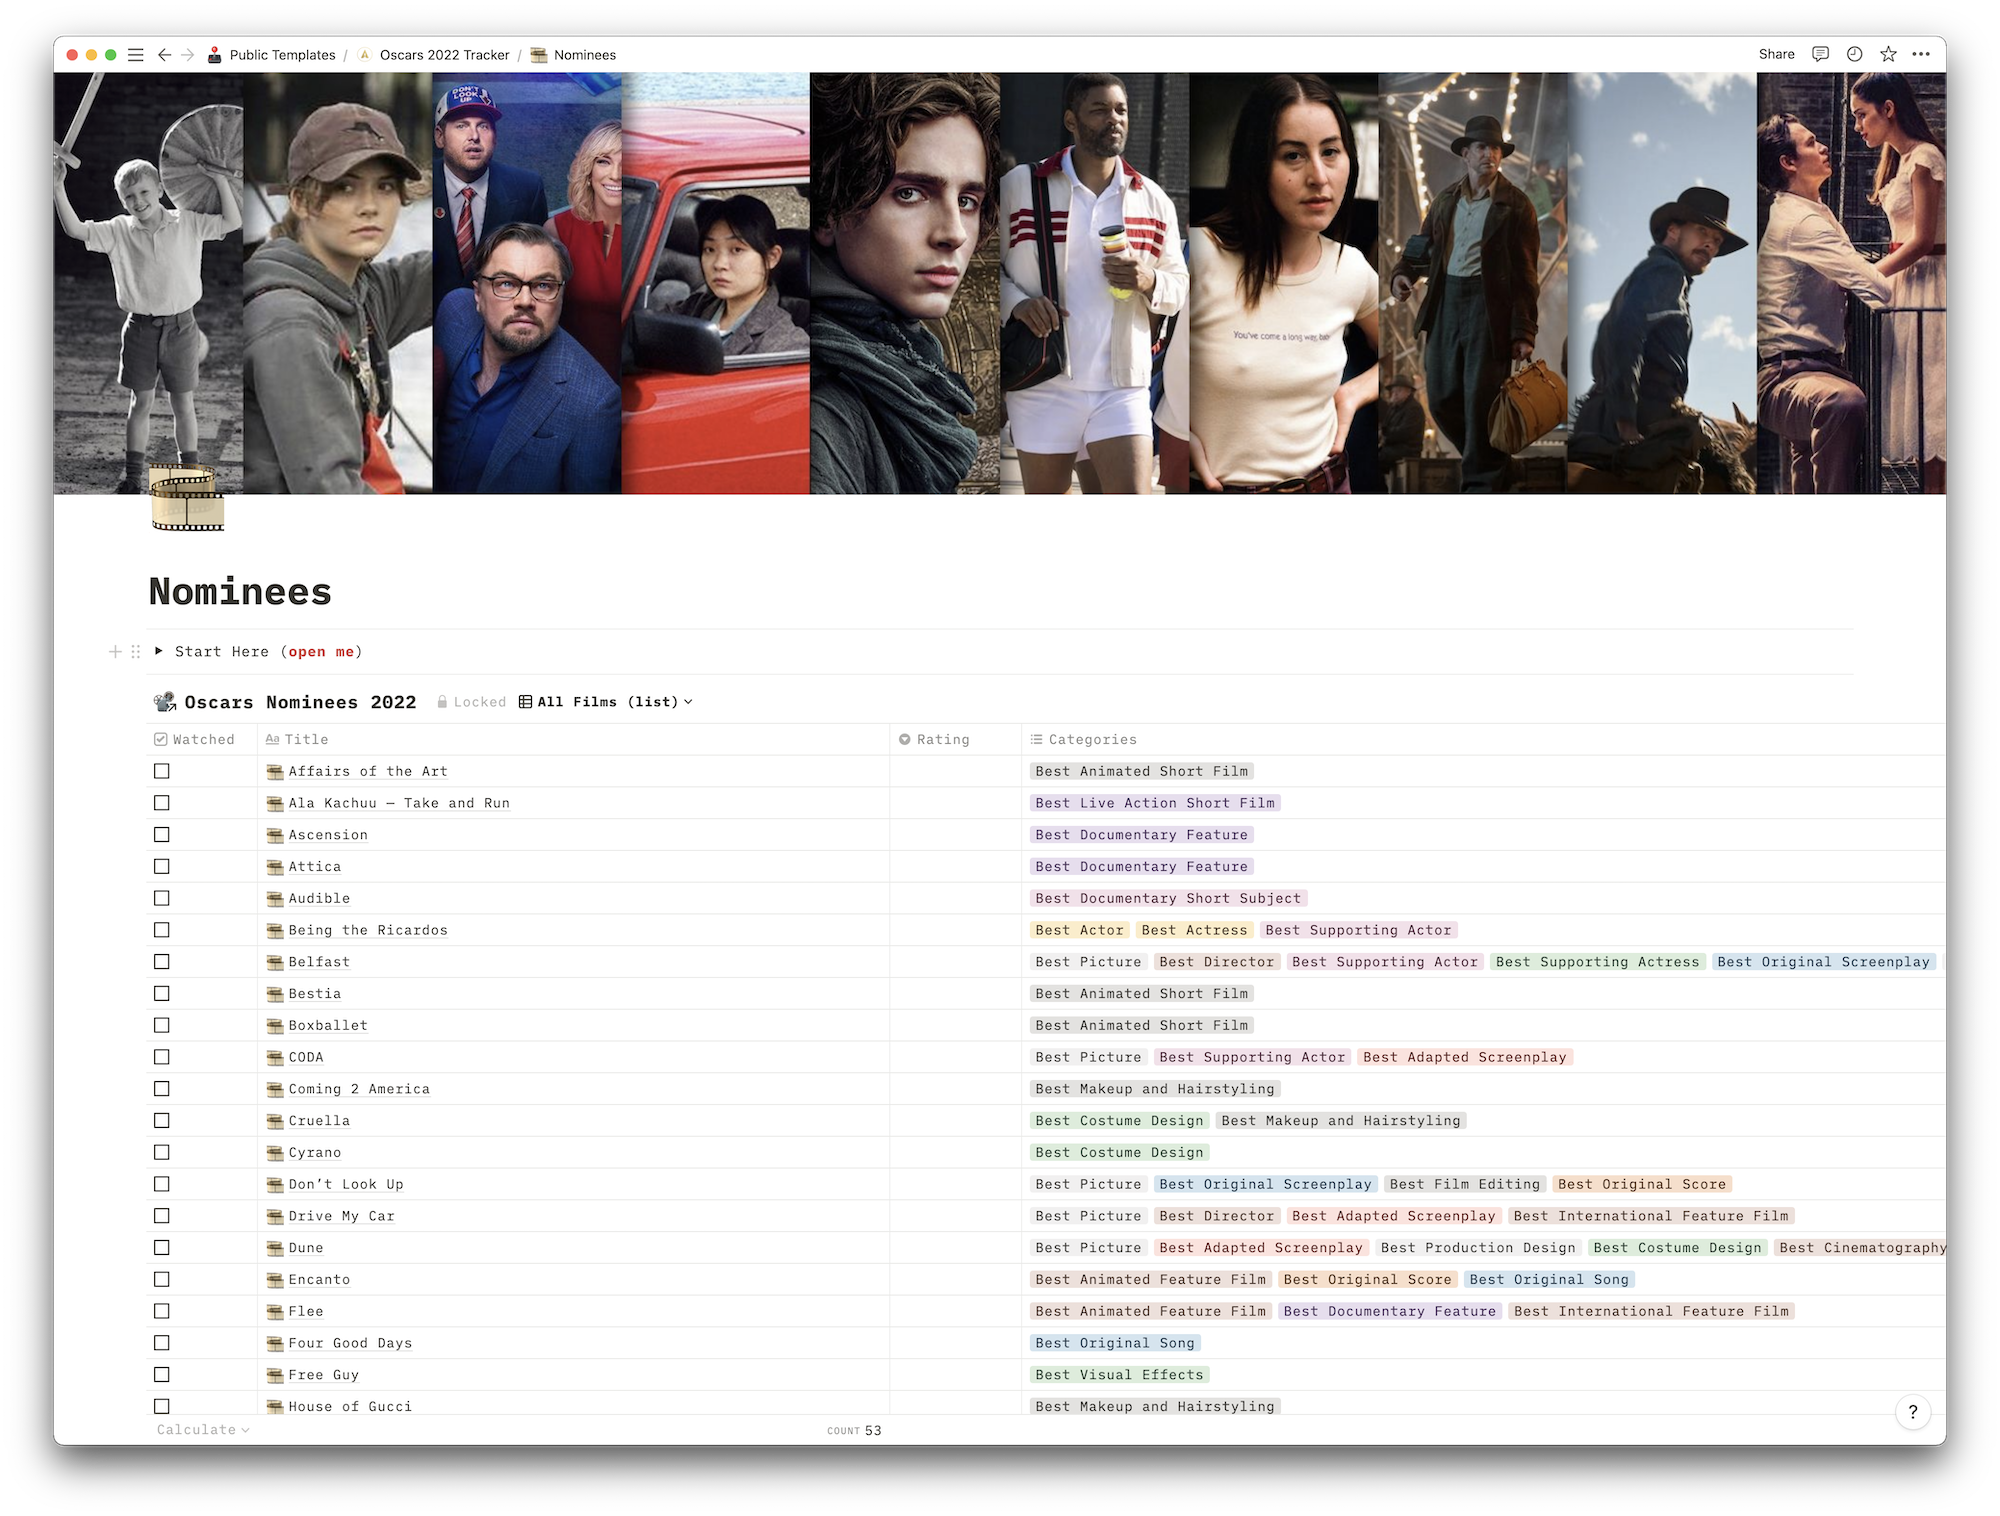
« 2 » When you click on "Nominees", you'll access the database with all the films nominated in all the categories, organized alphabetically by title. Here you're able to quickly mark a film as "watched" and give a rating from 1 to 5 stars:
« 3 » Each film is its own clickable page where you can go a little further, adding a date when you watched (optional), watch the trailer, find a link to learn more about the specific film, as well as a dedicated space for you to write down a few personal comments:

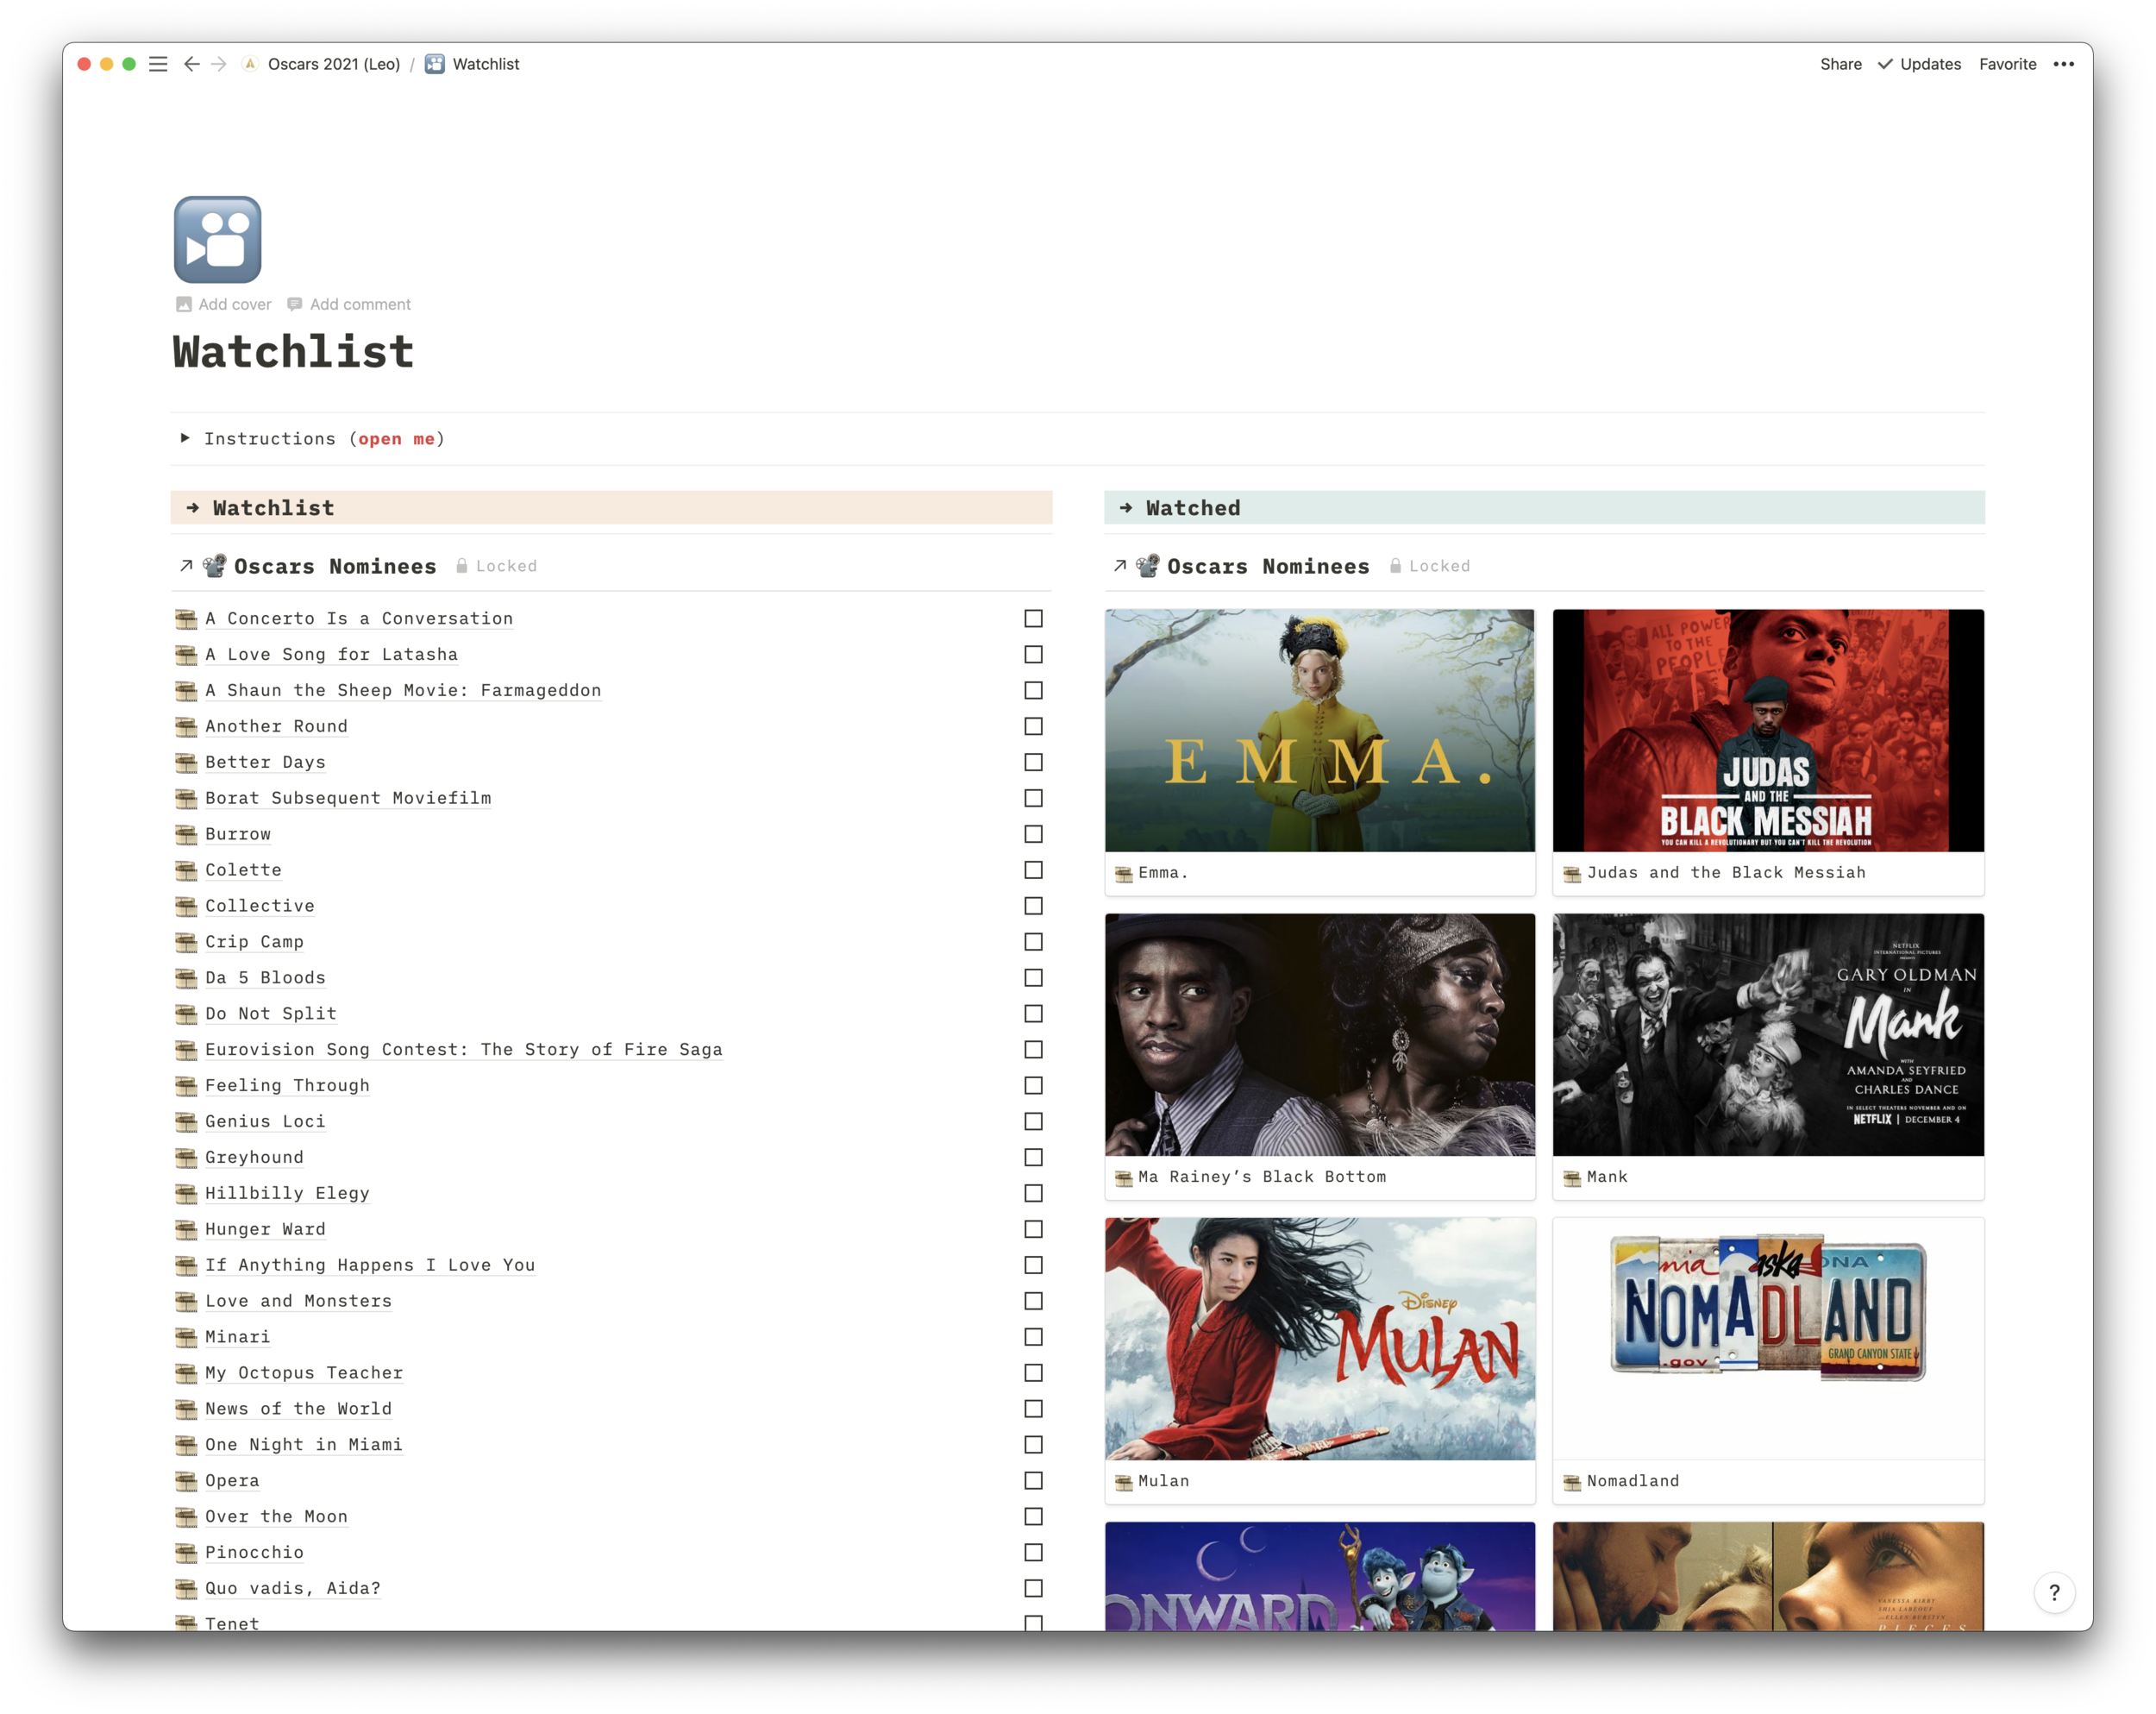
« 4 » Back to the home page, clicking on "Watchlist" will bring you to a side-by-side view for a quick glance of the films that you've already seen and what's still on your watchlist. Once you mark a film as "watched", it automatically moves to the proper column, changing its view to the film poster instead of just the title:

« 5 » Back to the home page, clicking on "Favorites" you can access a separate page with all your Favorite Films, which means the ones that you rated as 3 stars or more. That way you can look back and remember your favorite films from the award season!

« 6 » And finally, as a bonus, I created a “Ballot” page, where you can simply mark your bets for the films you think will win and you want to win on each category, so you get ready to enjoy the big night!

If you download and use this template, please share your thoughts and any feedback with me through the comments section below, on Twitter, or by sending me an email.
And if you love music, like me, consider subscribing to Shuffle Sundays, my weekly Newsletter with personal recommendations to help you find your next obsession. All directly to your inbox for you to consume at your own pace. Click here to learn more!